


Creating a virtual tour is... surprisingly easy!
Armed with just an Insta360 camera, tripod, and your phone, you'll be producing high-quality, immersive virtual tours in no time. This guide will run you through exactly what you need and the steps to shoot and share.
How to Create a Virtual Tour: Gear Needed
What you’ll need:
- Matterport Account - there's a free option available to get shooting right away. Paid plans start from US$9.99 per month with loads of useful benefits.
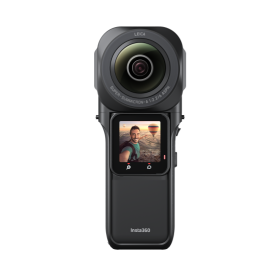
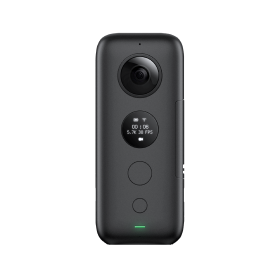
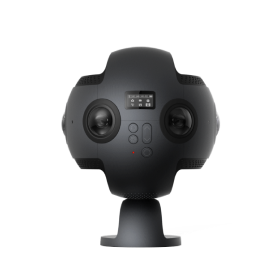
- Camera - our top recommendation for a Matterport camera is the RS 1-Inch 360 Edition Virtual Tour Kit. Co-engineered with Leica, this camera's dual 1-inch sensors deliver unrivaled image quality with excellent low light capabilities. It's the premium option and worth every penny. Alternatively, the steps described below can also be done with Insta360 X3.
- Phone or Tablet - iOS and Android are both compatible.
How to Create a Virtual Tour Step 1: The Set-Up
- Make sure the firmware on your Insta360 camera is up to date. You can find the latest firmware here or update via the Insta360 app.
- Download the Matterport app from the App Store or Google Play store. You can find it by searching for “Matterport”. Then, sign up here and log in to your account.
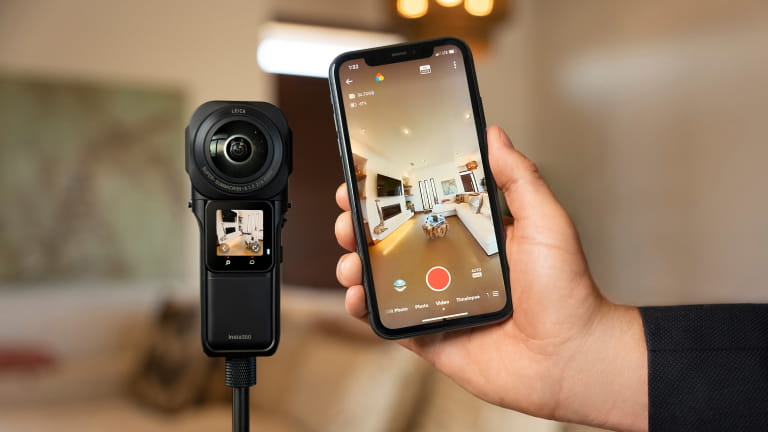
- Turn on your RS 1-Inch 360 camera. Then, open the Insta360 app and press the yellow button to connect to your camera.
- Switch to the Matterport App and press 'Connect to Camera.'
- Tap the (+) or the “Create New Job” button. Name your scan and allow location sharing when prompted.
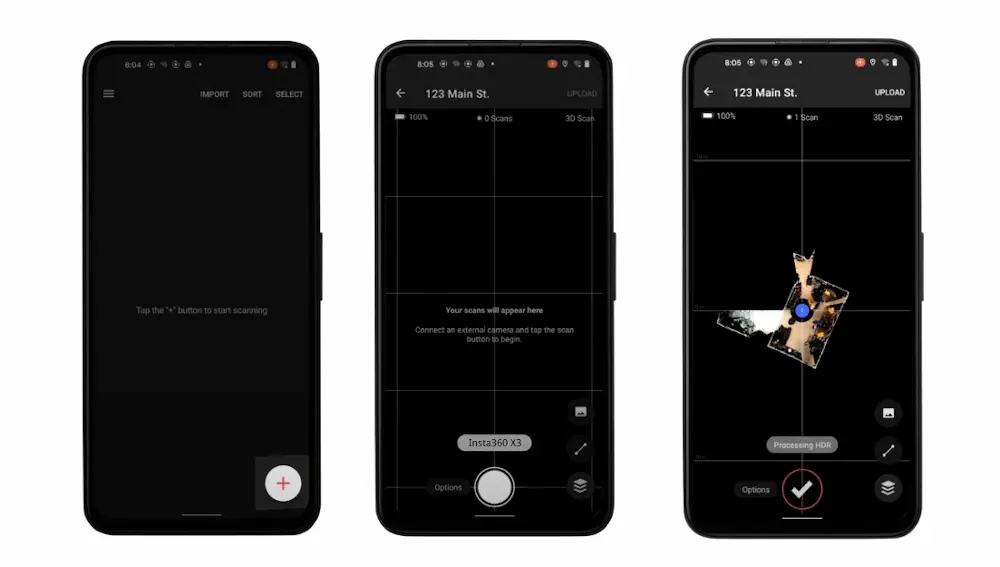
You’re all set! When you’re ready, tap the "Capture" icon to begin.
Step 2: The Shoot
First, a few simple things to take care of before you begin your shoot:
- Clean, organize and arrange your space. Have the place looking spotless as your 21MP 360 photos will show plenty of detail! Try and remove all clutter and personal belongings, as well as personal photographs to avoid them being included in any published material.
- Watch out for reflections. Try to position the camera so that it is not visible in any mirror or window reflections.
- Turn on all the lights. Even if some rooms have less natural light than others, this will ensure the camera has at least some lighting to work with.
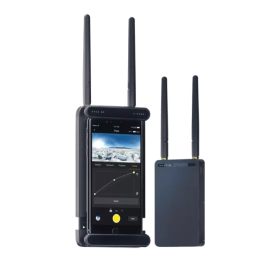
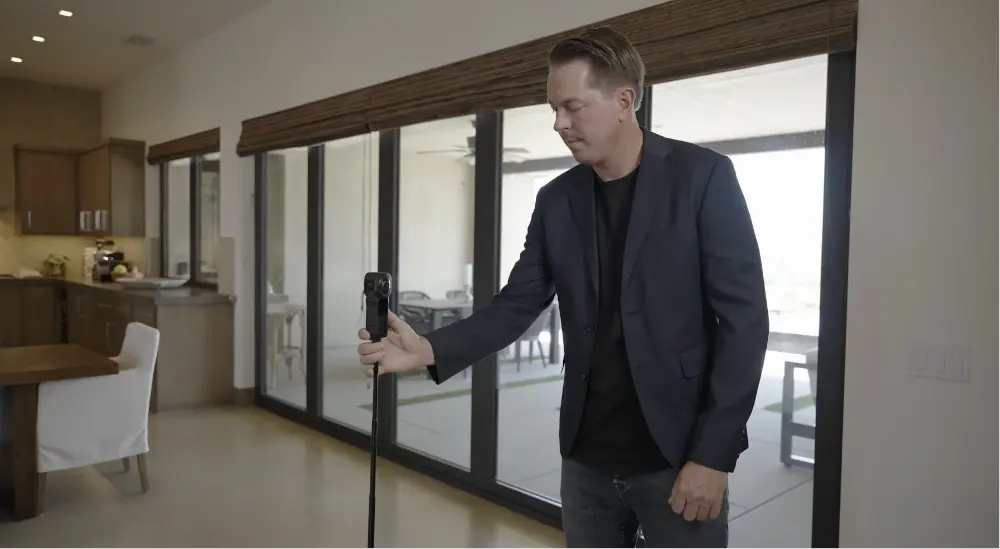
When everything's taken care of, set up your camera in the center of the room on a tripod, then get out of the shot (perhaps behind a wall or in the next room). RS 1-Inch 360 has Wi-Fi preview and control so that you can shoot from afar, without spoiling your virtual tour.
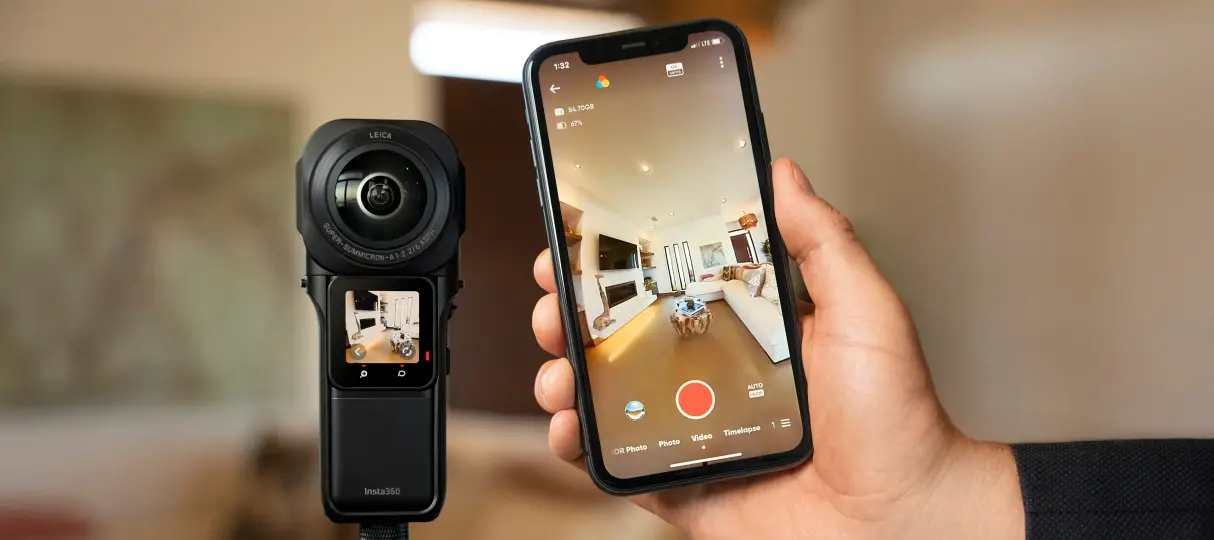
Shoot with RS 1-Inch 360 directly from the Matterport app. The camera will capture a 360-degree view of the room from that viewpoint, and automatically transfer the image to your device.
Then, simply move the tripod to the next scanning position, return to your hiding place, and tap Capture for the next shot. Repeat until you have captured the entire property or space.
Step 3: Edit & Share
Once you’re finished shooting, upload your shots to your Matterport Cloud account where a 3D model is automatically generated. Once created, Matterport’s Workshop application lets you edit, customize, and refine the 3D experience.
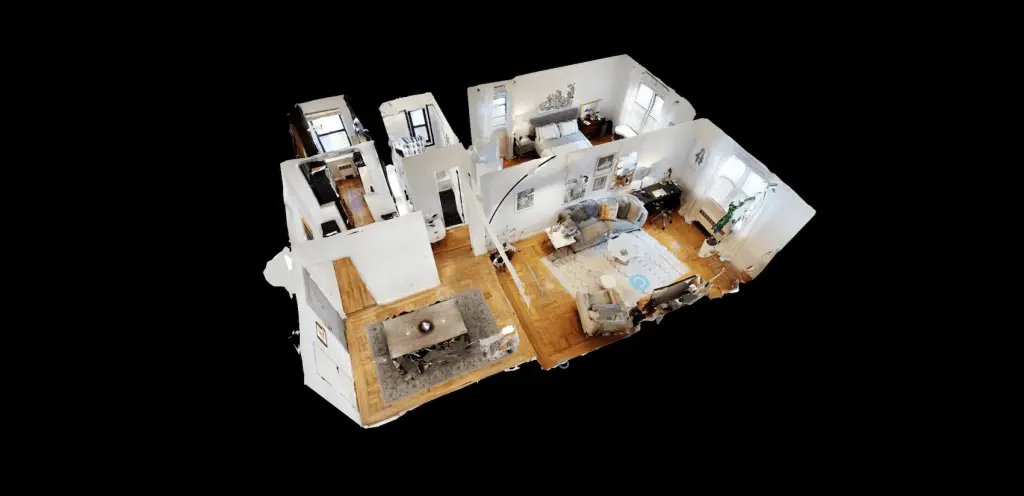
After you’ve polished your tour, you can share a link with anyone to view it anywhere, at any time. This is ideal for listing properties or sharing on social media.
That's it! You should now be ready to start creating virtual tours with Matterport and Insta360 RS 1-Inch 360 Edition. However, there's always plenty more to learn.
Check out this article for info on what makes RS 1-Inch 360 a great camera for virtual tours.
There's also the Insta360 Enterprise Community on Facebook where you can talk to fellow professionals and see what they're creating. Or, feel free to contact our Enterprise team directly to see how 360 cameras can benefit your business.
Keen to keep up to date on Insta360 stories? Keep an eye on our blog and sign up for our mailing list. You can also contact our Enterprise team directly to see how 360 cameras can benefit your business.


%20(1).svg)
%20(1).svg)
.svg)


