


 Product Comparison


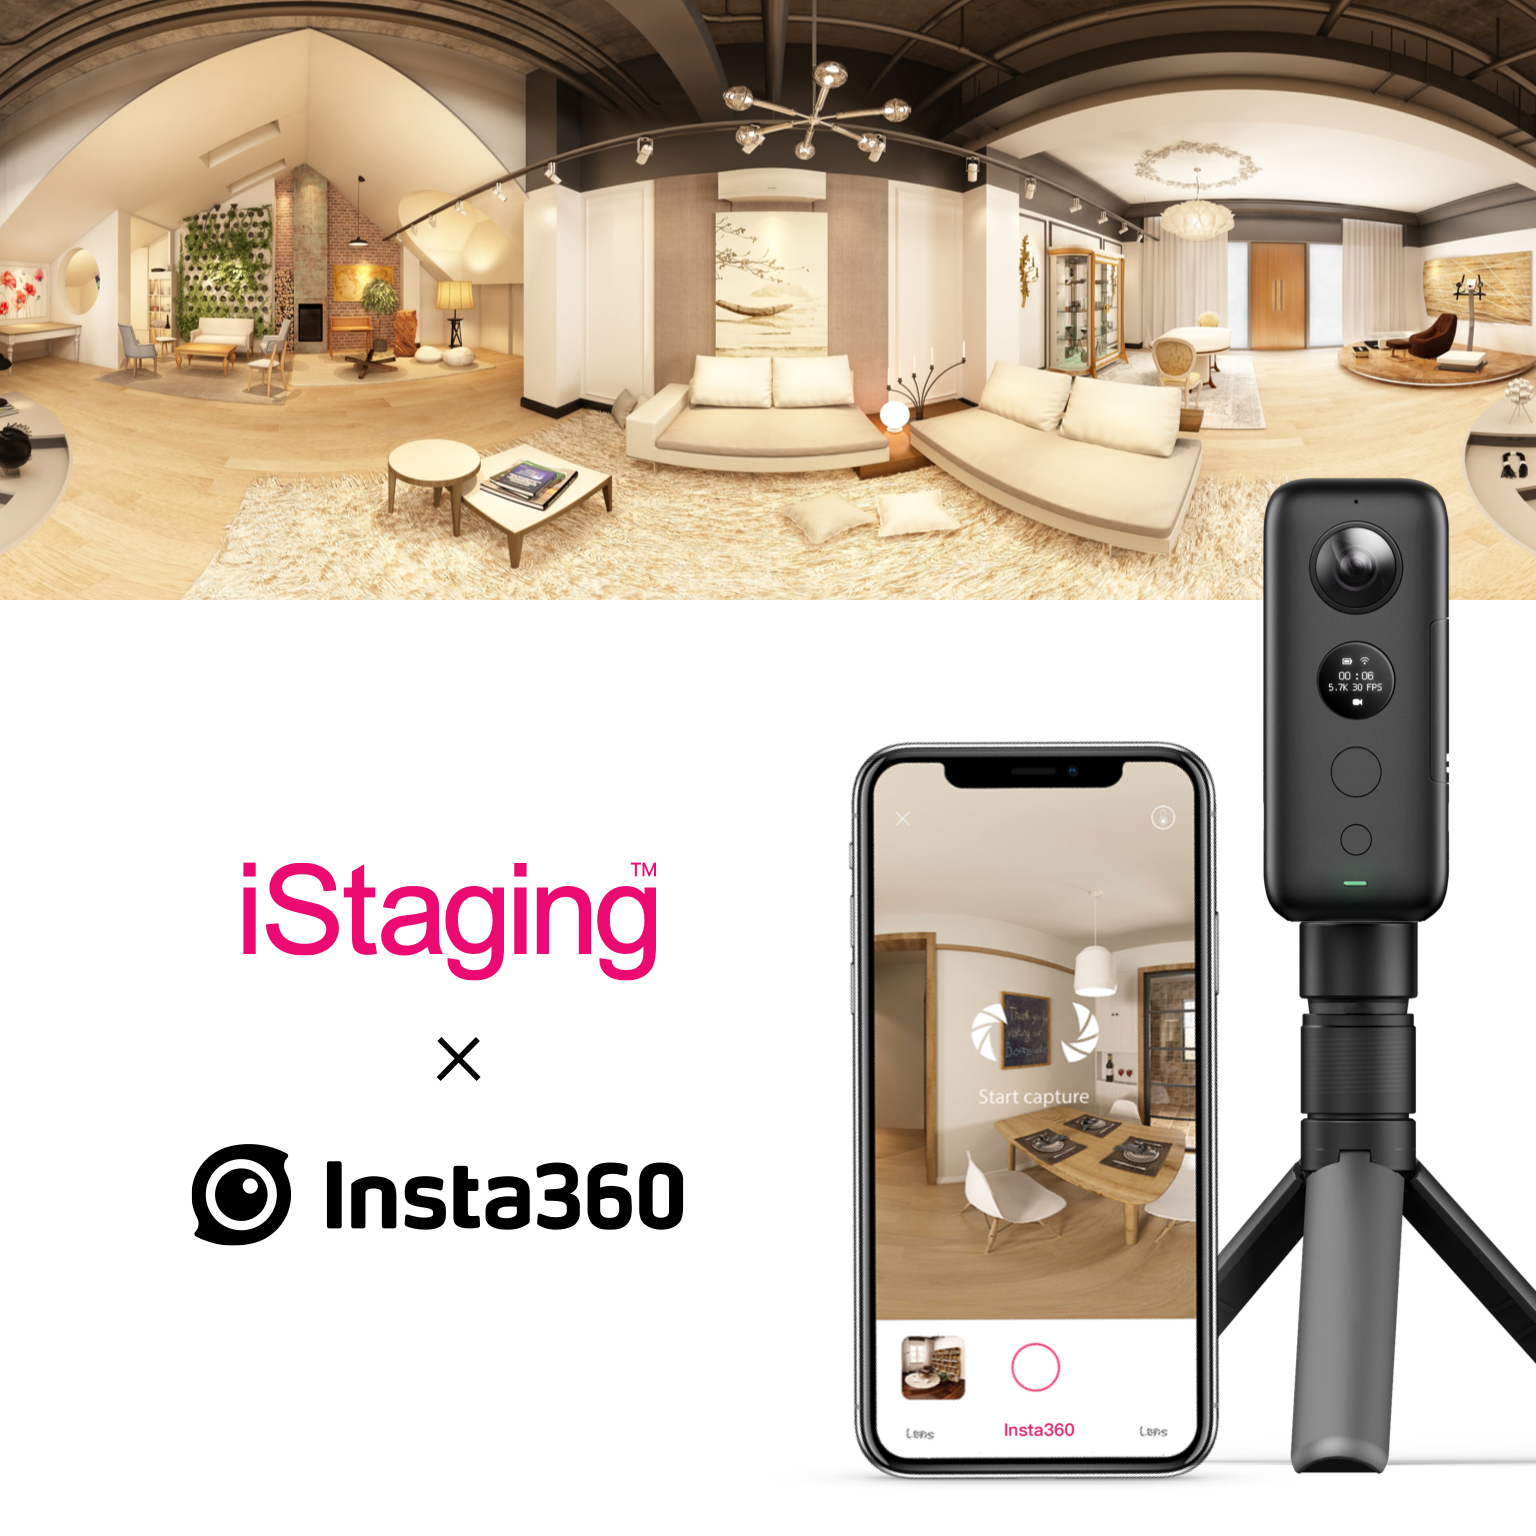


This virtual tour tutorial will get you up and running so that you can start making properties come to life. Virtual tours used to be complex, time-consuming and expensive. Now, with ONE X, iStaging, and a virtual tour tutorial like this, they're simple and accessible by anyone.
Step 1: Get a camera
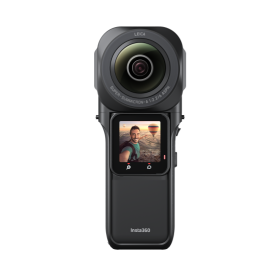
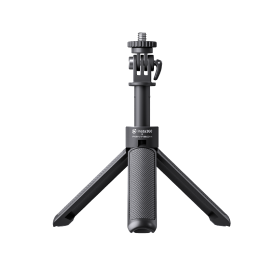
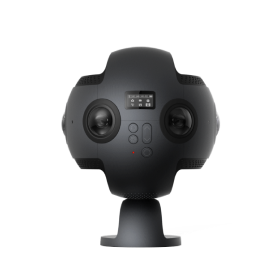
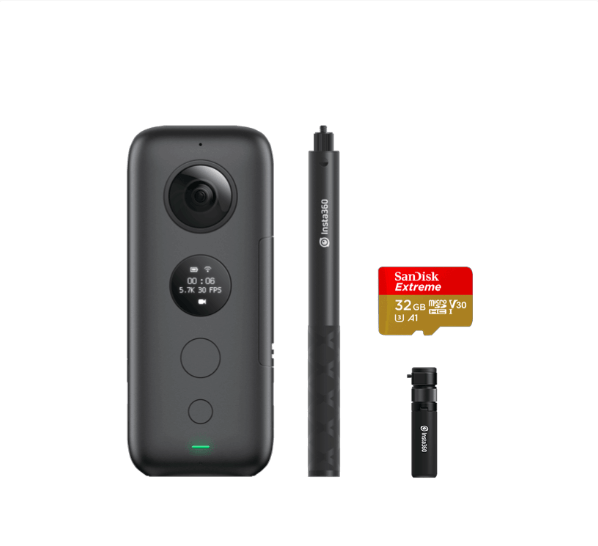
While you can use bulky and complex rigs, Insta360 ONE X makes virtual tours easy. With the ONE X real estate kit, you'll be set.
Step 2: Get some virtual tour software
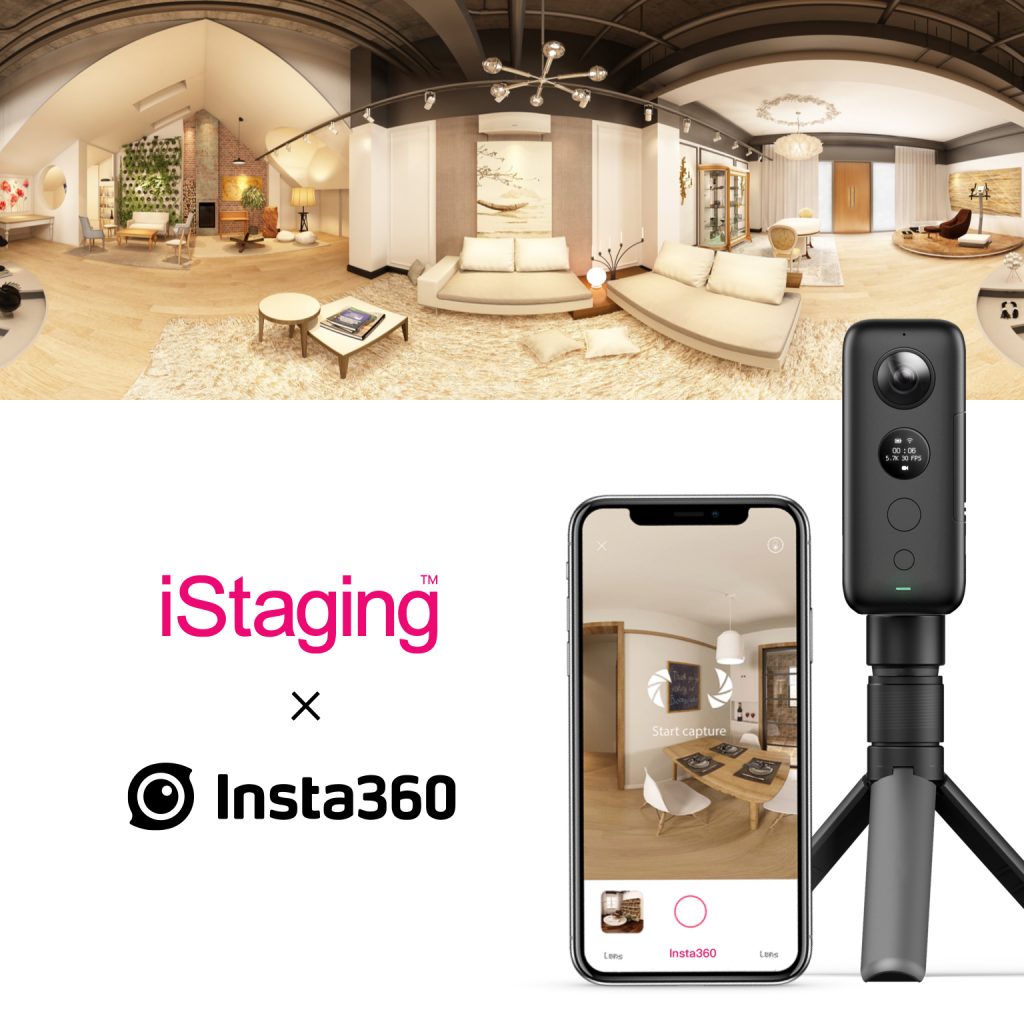
iStaging makes it easy and affordable to turn objects and spaces into virtual tours. It's tightly integrated with ONE X to make the creation process simple and fast.
Step 3: Preparation
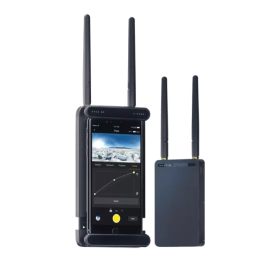
Set up your camera in the center of the room on a tripod, then get out of the shot (perhaps behind a wall or in the next room). ONE X has Wi-Fi preview and control so that you can shoot from afar, without spoiling your virtual tour.
We recommend positioning the camera to minimize reflections to prevent the camera from being seen in a mirror. In addition, it's best to angle your ONE X with the side of the camera facing the brightest spot in the room, for example, a window. That way, the light will be evenly distributed across both lenses.
Here are some top tips from virtual tour pro Dimitri Cassimatis -http://blog.insta360.com/pro-virtual-tours-real-estate-tips/
Step 4: Shoot
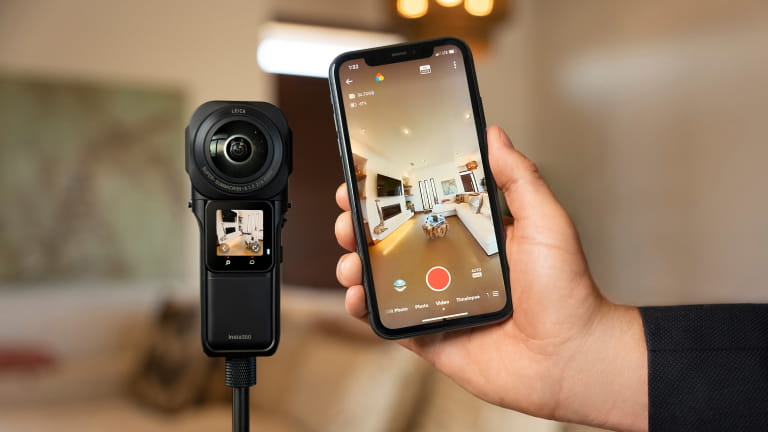
After downloading iStaging's VR Maker app, shoot with the ONE X directly from that app. The ONE X will auto-adjust so your shots come out clean, while iStaging creates the tour.
Here are some detailed set-up instructions: https://help.istaging.com/en-us/article/77-in-app-capture-insta360-one-x
Step 5: Share
After you've finished shooting your virtual tour, you'll get a link that you can use to share anywhere. Alternatively, you can embed it right into your property listing. Simple.
If you're the further reading type, iStaging did the honors of hosting a webinar on using their software with the ONE X. Click here to watch.
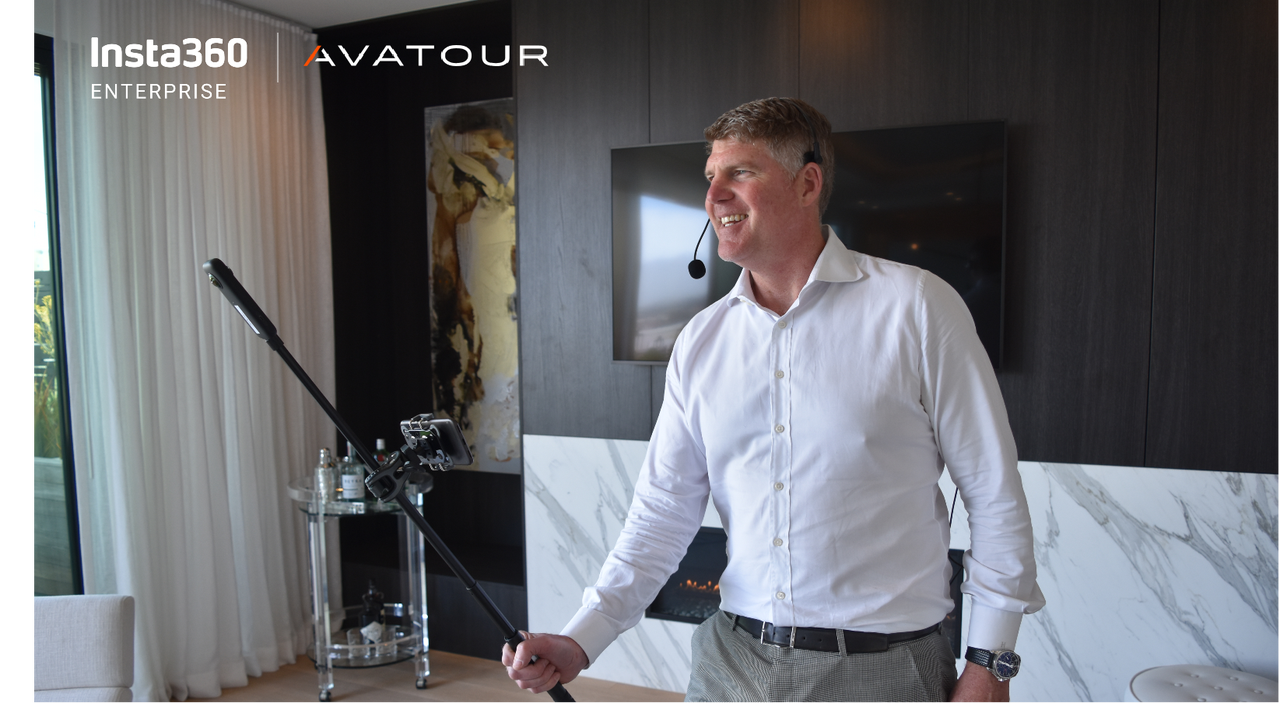
Keen to keep up to date on Insta360 stories? Keep an eye on our blog and sign up for our mailing list. You can also contact our Enterprise team directly to see how 360 cameras can benefit your business.


%20(1).svg)
%20(1).svg)
.svg)