


 Product Comparison


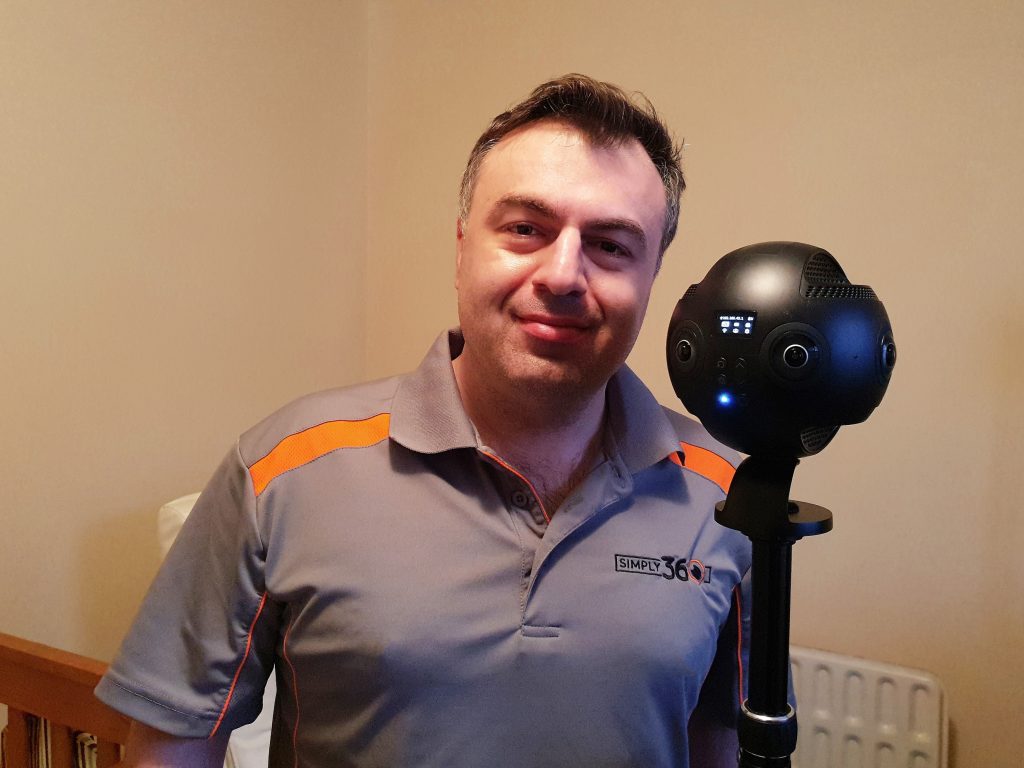
Sydney-based Dimitri Cassimatis is a seasoned 360 photographer who uses Insta360 professional cameras to create virtual tours. His Sydney-based production company is Simply 360.
We caught up with him to get his top-five tips on creating the ultimate virtual tour for real estate, tourism or business promotion.
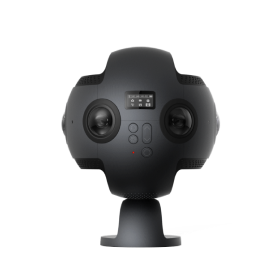
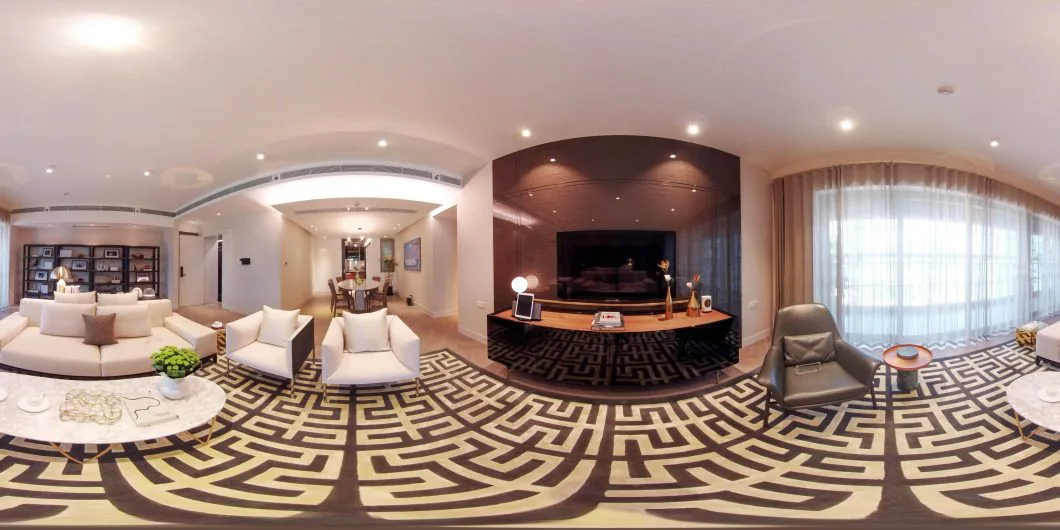
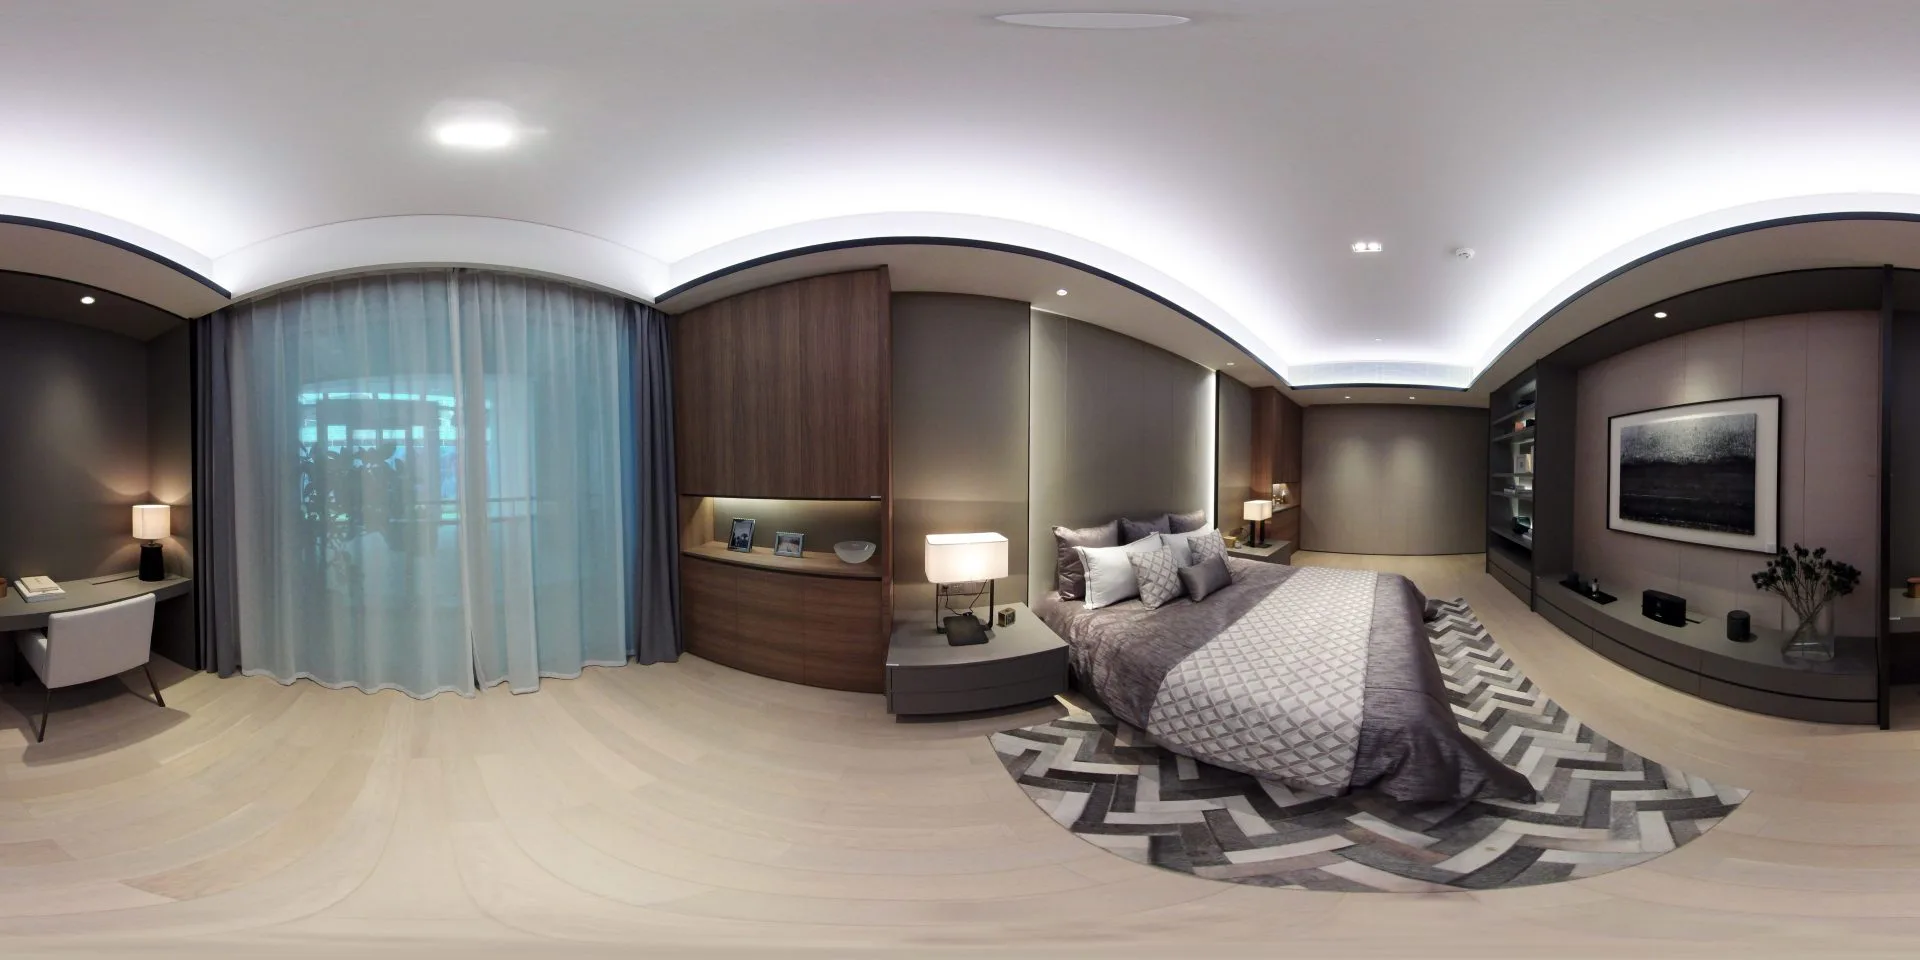
NOTE: The sample images used throughout this guide were captured on the first generation of Insta360 Pro. The launch of Insta360 Pro 2 brought upgraded image quality and new features like in-camera HDR that are tailor-made for virtual tour creation. Dimitri's tips apply to both cameras.
1. Make Sure the Place is Clean
The first thing you should do is to contact the owners or agents, and advise them to clean the property and remove all personal belongings a day or two before the shoot. The Insta360 Pro 2 is a high-resolution 360 camera and even the tiniest mess, dirt or wall marking is picked up. On more than one occasion, clients do not realize that 360 photos literally photograph from every angle.
We’ve also seen personal belongings under seats, stains and markings that had never noticed before. It is also a good idea to remove all items such as personal photographs unless the client wants their photos published online. You do not want to spend countless hours editing them out in post-production.

2. The Room Is the Focus, Not The View
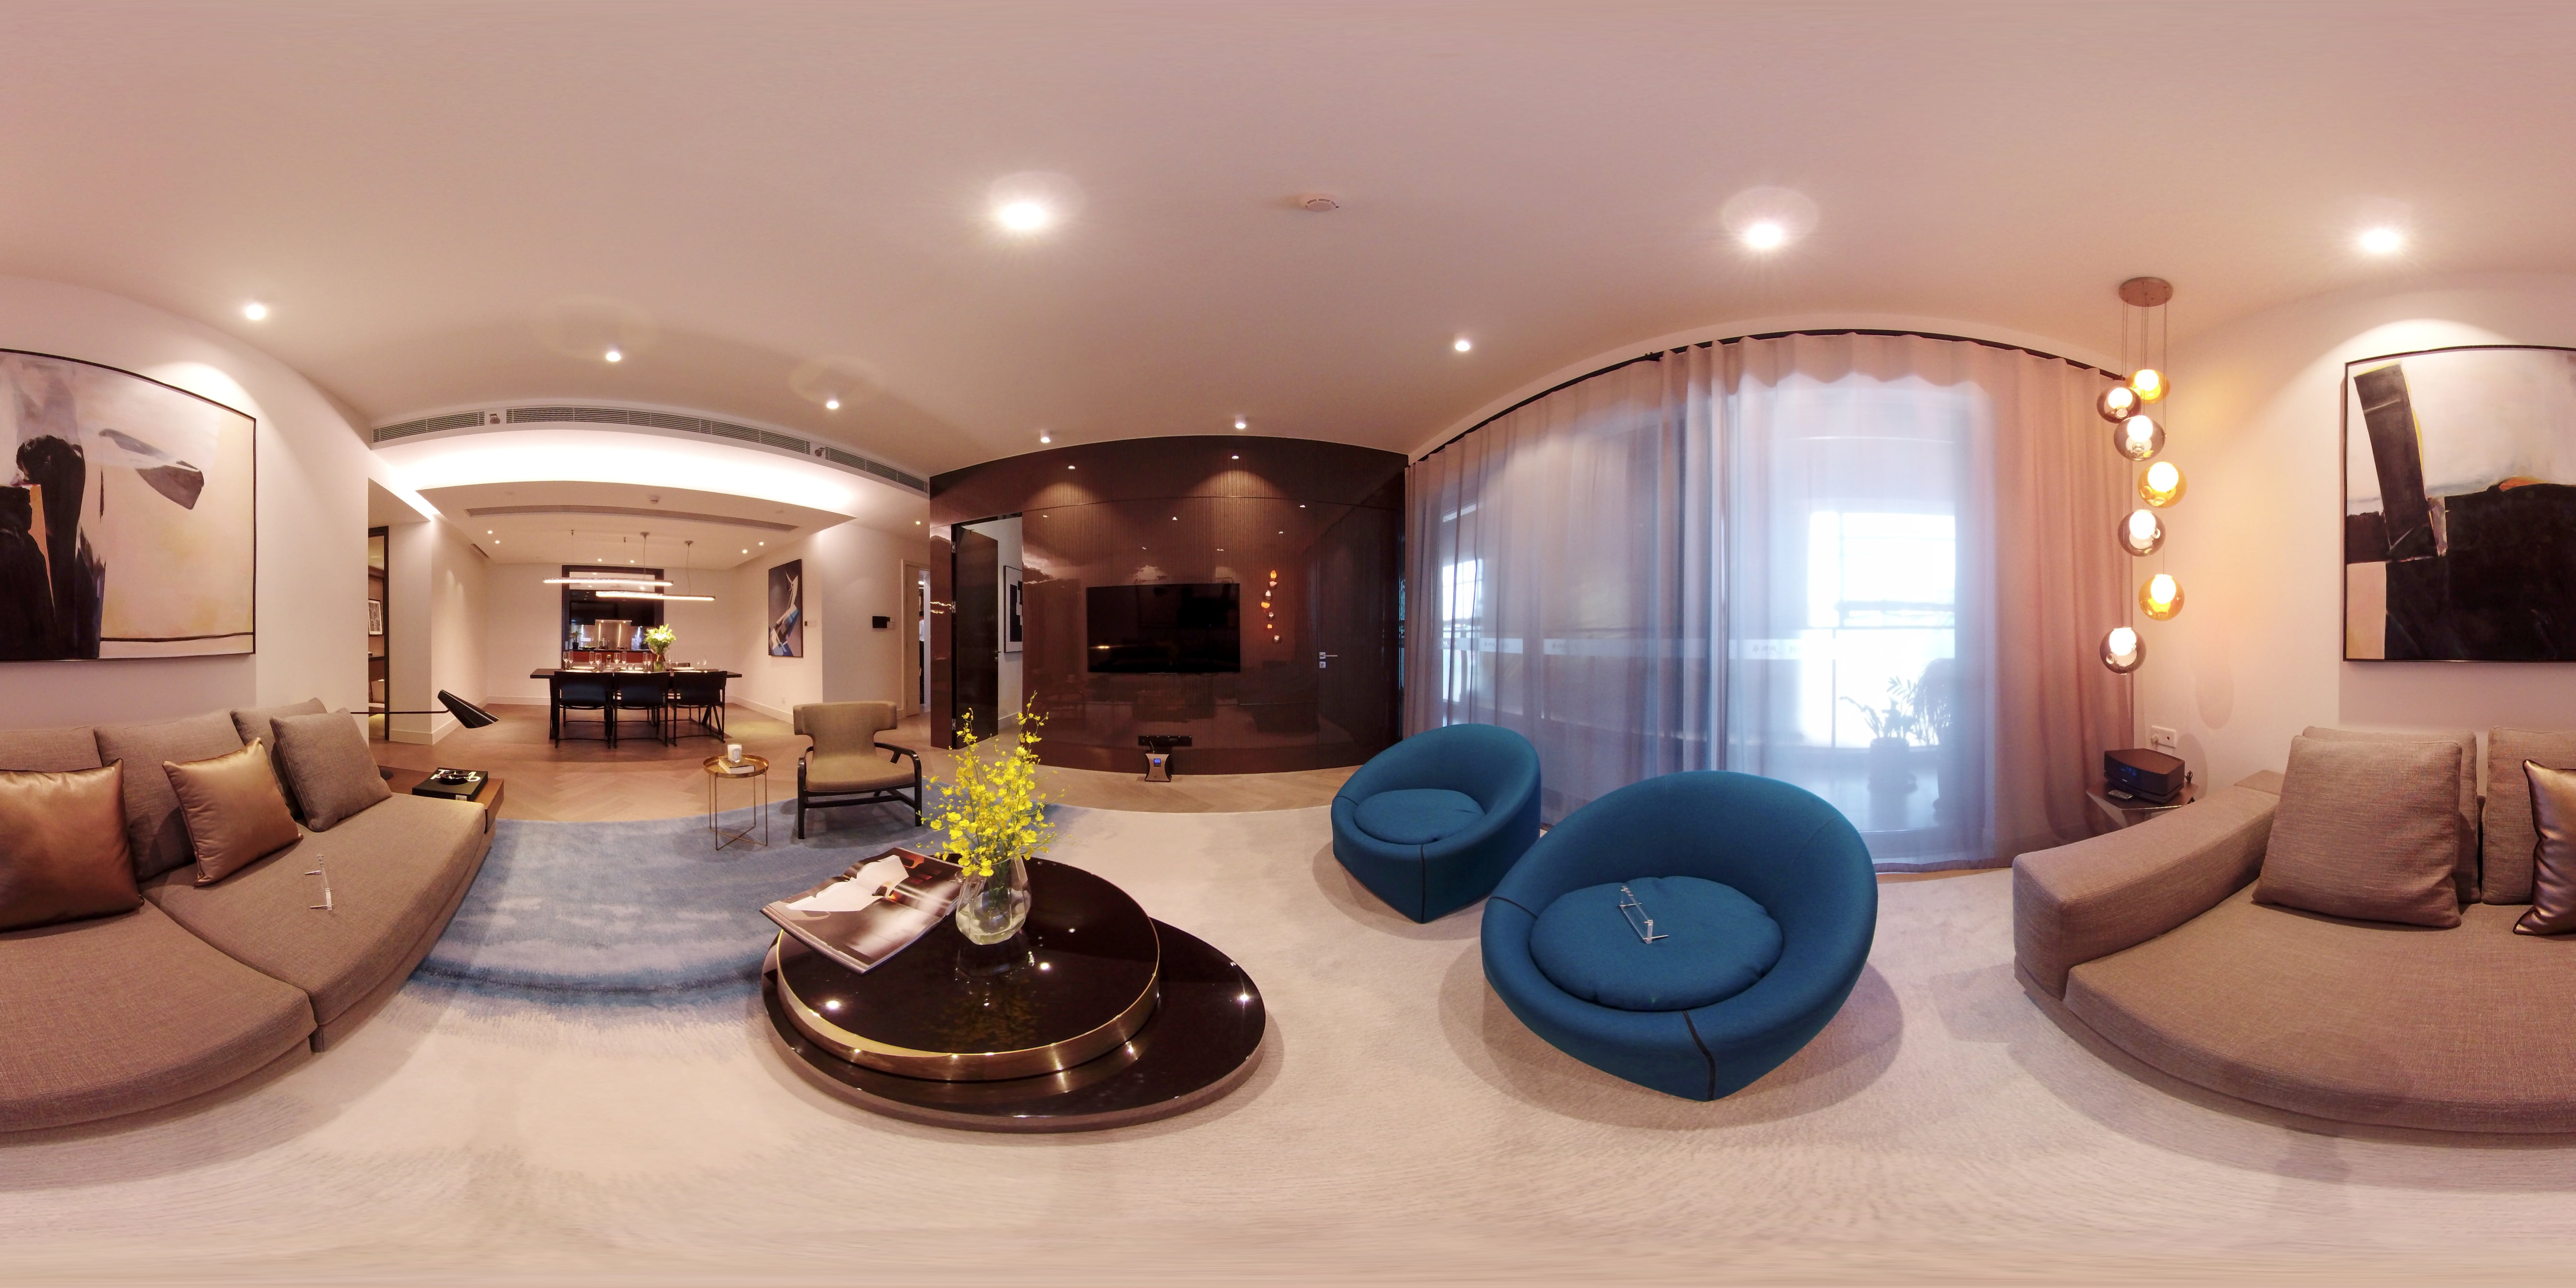
Sometimes clients will have a spectacular view or a feature in the room. These make for a great selling point and should be included in the tour. However, the purpose of 360 virtual tours is to experience the room, not just a focal point.
I will give a real-life example: We had a client with an amazing view from a certain angle when looking out of the window. They wanted to replicate this in the virtual tour. I had the camera pressed right up against the glass and I knew that the view would look fine but the feel of the 360 photo when not looking out the window would look horrible.
I instead suggested to capture a more centralized view of the room and embed a hotspot so that when a person clicks on the window the normal 2D image pops up showing the view in all its glory. The client was happy as they got a great shot of the room and the ability to showcase the view.
3. Master Your Stitch
The Insta360 Pro 2 has a great stitching algorithm, but even great cameras perform better when you plan your camera placement to account for lens positioning – especially when you’re shooting in tight spaces. You should experiment with different positioning in order to minimize stitching issues as well as to avoid having the camera show up in mirrors or glass reflections. If you do notice any stitching issues in your virtual tours, you can work them out with some simple adjustments in Insta360 Stitcher. And make sure to check the zenith of your shot, as ceilings with complex patterns can be a challenge to get just right. There’s a toggle switch you can use in Insta360 Stitcher to optimize your zenith stitch.
Insta360 Stitcher is the best choice for a quick and easy stitching software that’s designed for the Pro. But there are times when you’ll want to get more precise than what Stitcher offers – for example bending a stitch around a key object that’s in close proximity to the camera. For situations like this, Mistika VR, which has integrated the Insta360 Pro 2’s stitching libraries, is a good bet, along with Autopano.
In some cases, Adobe Photoshop can also help to fix any issues by masking them. So learn how to stich and mask correctly. I’ve often used a combination of stitching and editing software to perfect an image for my virtual tours.
4. Keep Lighting Consistent
So, you’ve done a virtual tour and taken many shots throughout the property. You’ll want to make sure the look and feel are consistent throughout the tour. The degree of lighting can vary quite a lot when making a 360 virtual tour. You have rooms that have partial light, no light and outdoor shots. It can be a bit disorienting when you are in a 360 virtual tour and the lighting is inconsistent from room to room.
One tip I use is to make sure every light in the property is turned on when creating virtual tours. That way you will have lighting even in rooms with little to no natural light. Not only will your photos turn out better but they will also be easier to work with later on. Another tip is to make sure all the photos are taken around the same time of day. If you come back another day at another time for whatever reason the lighting will look different and the tour can feel disjointed.
5. Get Out of the Shot
One of my personal pet hates is seeing virtual tours with either the camera operator in the shot or reflections in the glass mirror of their 360 camera. It takes away from the experience as people came to see the property not you.
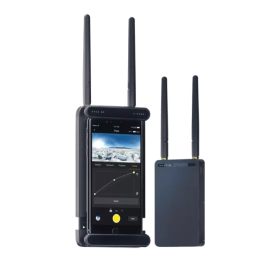
Position the camera to minimize reflections or being seen in a mirror. A tip I use is “If I can see the camera… the camera can see me” to stay out of the shot. Connecting via WiFi is another option to set up your shot from a neighboring room. If necessary, use a software such as Adobe Premiere to remove yourself or the camera from the 360 photos you’ve taken.
Keen to keep up to date on Insta360 stories? Keep an eye on our blog and sign up for our mailing list. You can also contact our Enterprise team directly to see how 360 cameras can benefit your business.


%20(1).svg)
%20(1).svg)
.svg)