


 Product Comparison


Have you ever watched a video and wondered how professional videographers get such good results with the same camera you use?
Insta360 GO 2 is a great action camera for beginners and advanced creators alike. It offers easy go-to options for quick social shots, but also offers a host of manual controls for more professional productions.
If you want to dial in the settings and get the best quality videos with your Insta360 GO 2, look no further than this article. Here are some Insta360 GO 2 pro tips and tricks gathered from professional videographers.
Insta360 GO 2 shooting tips
Before you do anything, always make sure to update your camera firmware and app to the latest version! The app and firmware are updated frequently to improve your experience with new features and fixes. The latest version can be downloaded from the Insta360 website at any time.
For the most control over your video when editing, record in Pro Video mode. Pro Video mode uses Insta360’s best-in class FlowState stabilization and horizon leveling algorithms, while Video mode only has basic in-camera stabilization. Pro Video mode also provides more options to adjust the field of view, roll angle and aspect ratio when editing.
Pro Tip: Set the Action Button of GO 2 to shoot Pro Video with a single press when the camera is off. The button settings can be customized in the app settings menu. This way, you can make sure to always shoot in Pro Video mode.
Shoot in the highest resolution 1440p 30fps, or 50fps for additional slow-mo shots. And select “High Bitrate” in the camera settings (rather than standard) for the most detail.
The vivid color profile (on by default) will give you the best color results straight out of the camera.
For more tips, check out this tutorial from Gimbal Guru:
Insta360 GO 2 POV mounting tips
Insta360 GO 2 comes with three in-the-box magnetic mounting accessories—the Magnet Pendant, Easy Clip and Pivot Stand.
When using the accessories, take a moment to preview your shot on your phone with the app before shooting. Since you can mount GO 2 in smaller and more unique places than a typical camera, it can be helpful to check that the shot matches what you envision. You can also use the preview function to make sure your lens is clean and without smudges.
Here are some other pro tips for using these accessories.
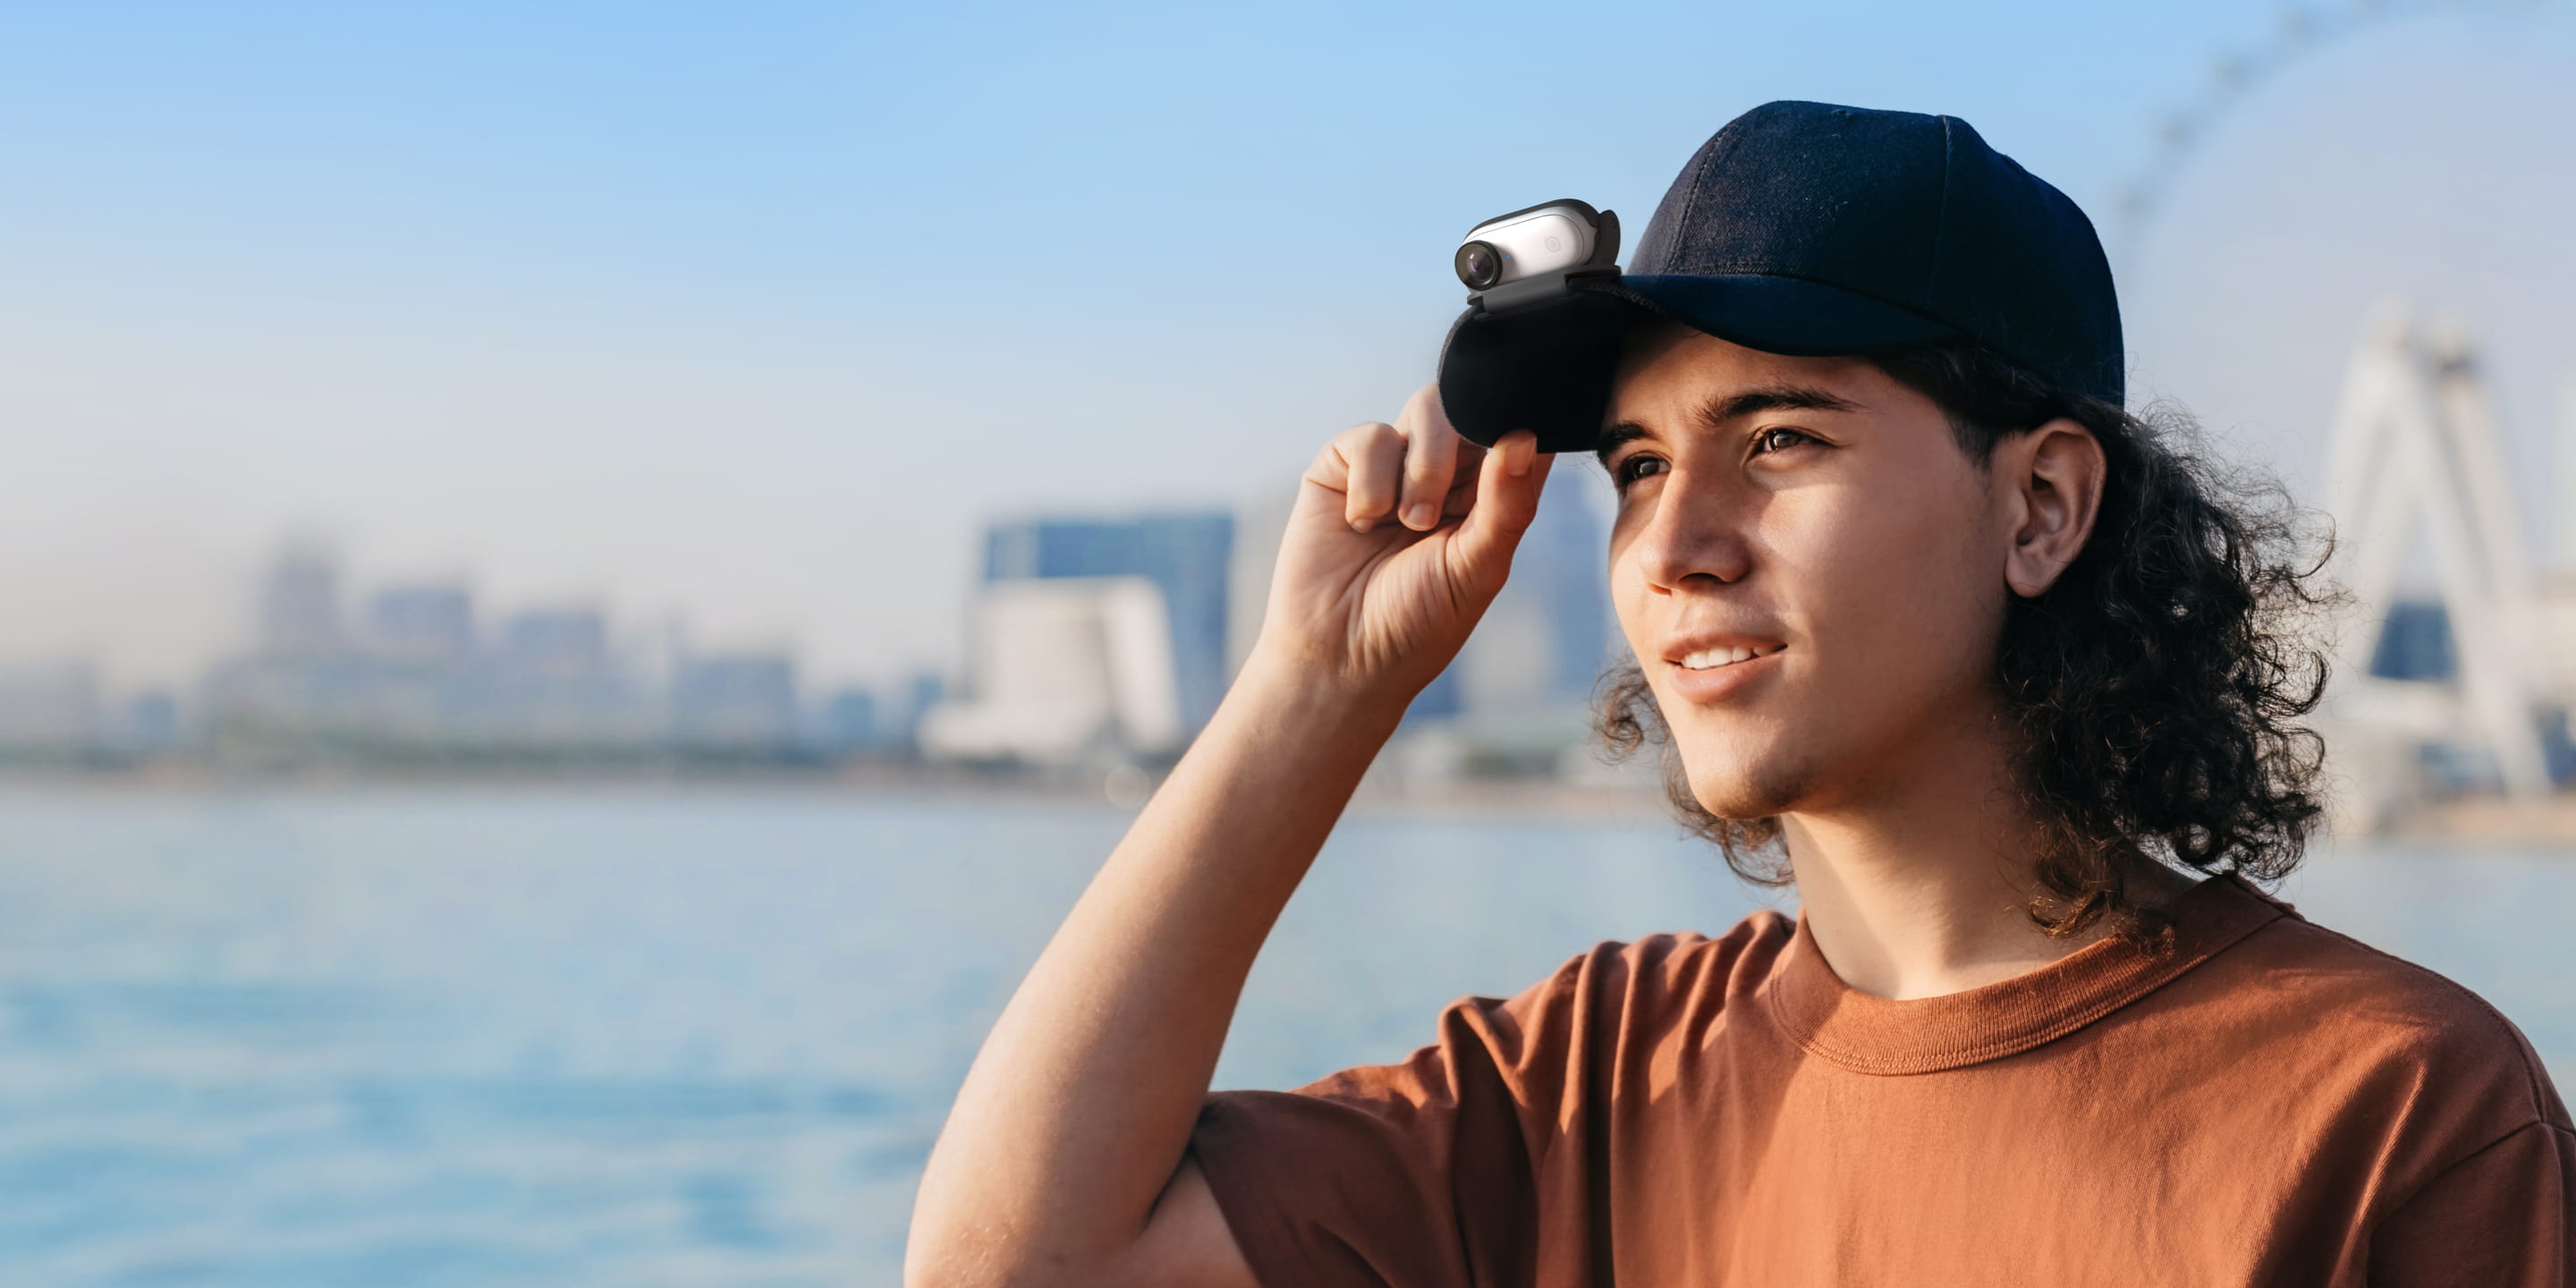
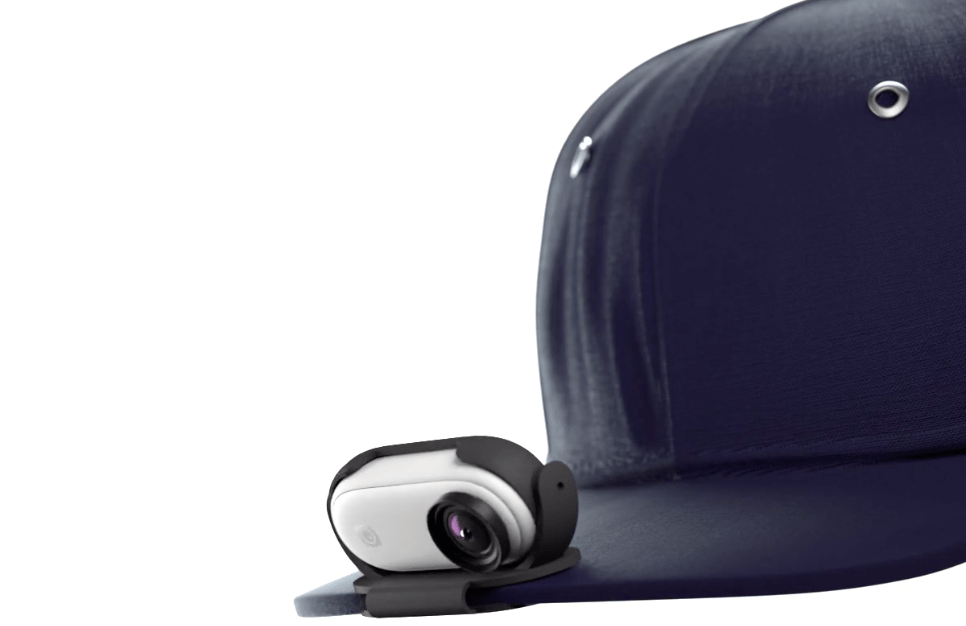
Easy Clip: First-Person POV shots
The Easy Clip offers the most natural POV shot. Here's an example of a clip shot with the Easy Clip:
Clip it to the brim of a hat and then adjust the Easy Clip slightly downwards to get the best angle. With the new design, the clip’s angle can be adjusted directly with a few clicks, rather than with an additional angle wedge like with GO.
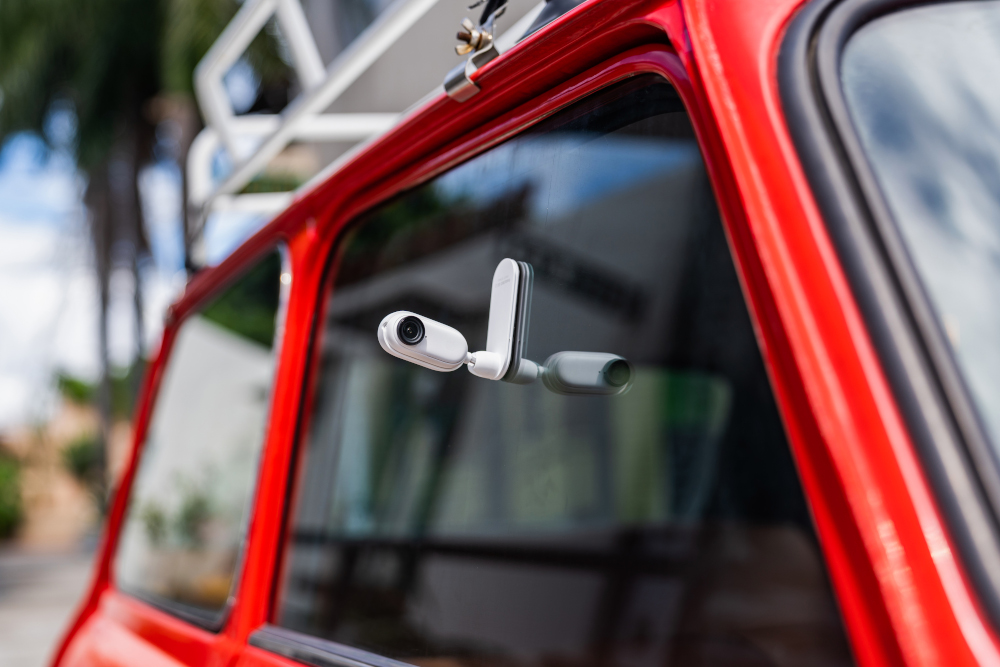
Pivot Stand: Unique POV shots
You can stick the Pivot Stand to almost any flat surface for unique perspectives. But remember to always rinse the Pivot Stand with warm water between uses. This will keep the stand sticky and reusable.
Action POV shots
For action shots, use the Action Mount Adapter, rather than the in-the-box magnetic accessories. This mount is more secure for high-intensity action shots and will ensure your camera doesn’t fall out during high vibrations.
Insta360 GO 2 editing tips
You can edit Insta360 GO 2 footage in both the app and the Studio desktop software. To maximize image quality, you can edit on desktop.
When recording in Pro mode, your camera will save two files, named PRO_VID and PRO_LRV. The LRV file is a low-resolution file used for previewing in the app. When editing on desktop, you can ignore the LRV file and simply import the VID file into Studio.
Once you’ve imported your files, you can preview the different field of view options and select the best one for your shot. Here are the field of view options listed from widest to narrowest:
- UltraWide: Widest field of view, but does have the most distortion around the edges
- ActionView: Optimized specifically for action POV shots, with a taller height than the other FOVs to better show your body in the shot and give a better feeling of speed
- Linear: Slightly narrower field of view. Natural looking shot without distortion
- Narrow: Narrowest field of view and least distortion
Pro Tip: To show as much of your hands and environment in an ultra-wide view while still providing a natural look, try using “Linear” and “ActionView” (16:9 format only).
When you’re ready to export, select 2560x1440p to preserve all details and color. If you’re mixing clips from different files together in Premiere or Final Cut Pro X, export in ProRes 422 HQ to minimize compression.
If you’ve used the Vivid Color profile, there’s generally no need to use Color Plus. Use Remove Grain for low-light scenes to help smooth out your shot.
That’s it! Ready to shoot? Here’s an edit shot by a professional videographer to get you inspired.
Haven't picked up Insta360 GO 2 yet? Head on over to the Insta360 Store.
Keen to keep up to date on Insta360 stories? Keep an eye on our blog and sign up for our mailing list.
.jpg)
.jpg)


%20(1).svg)
%20(1).svg)
.svg)