


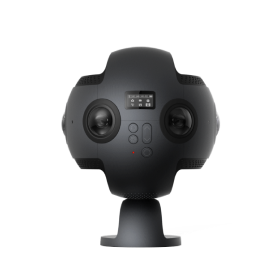
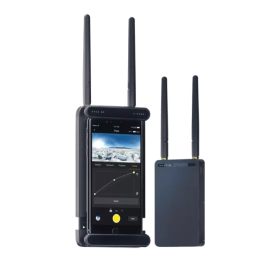
 Product Comparison


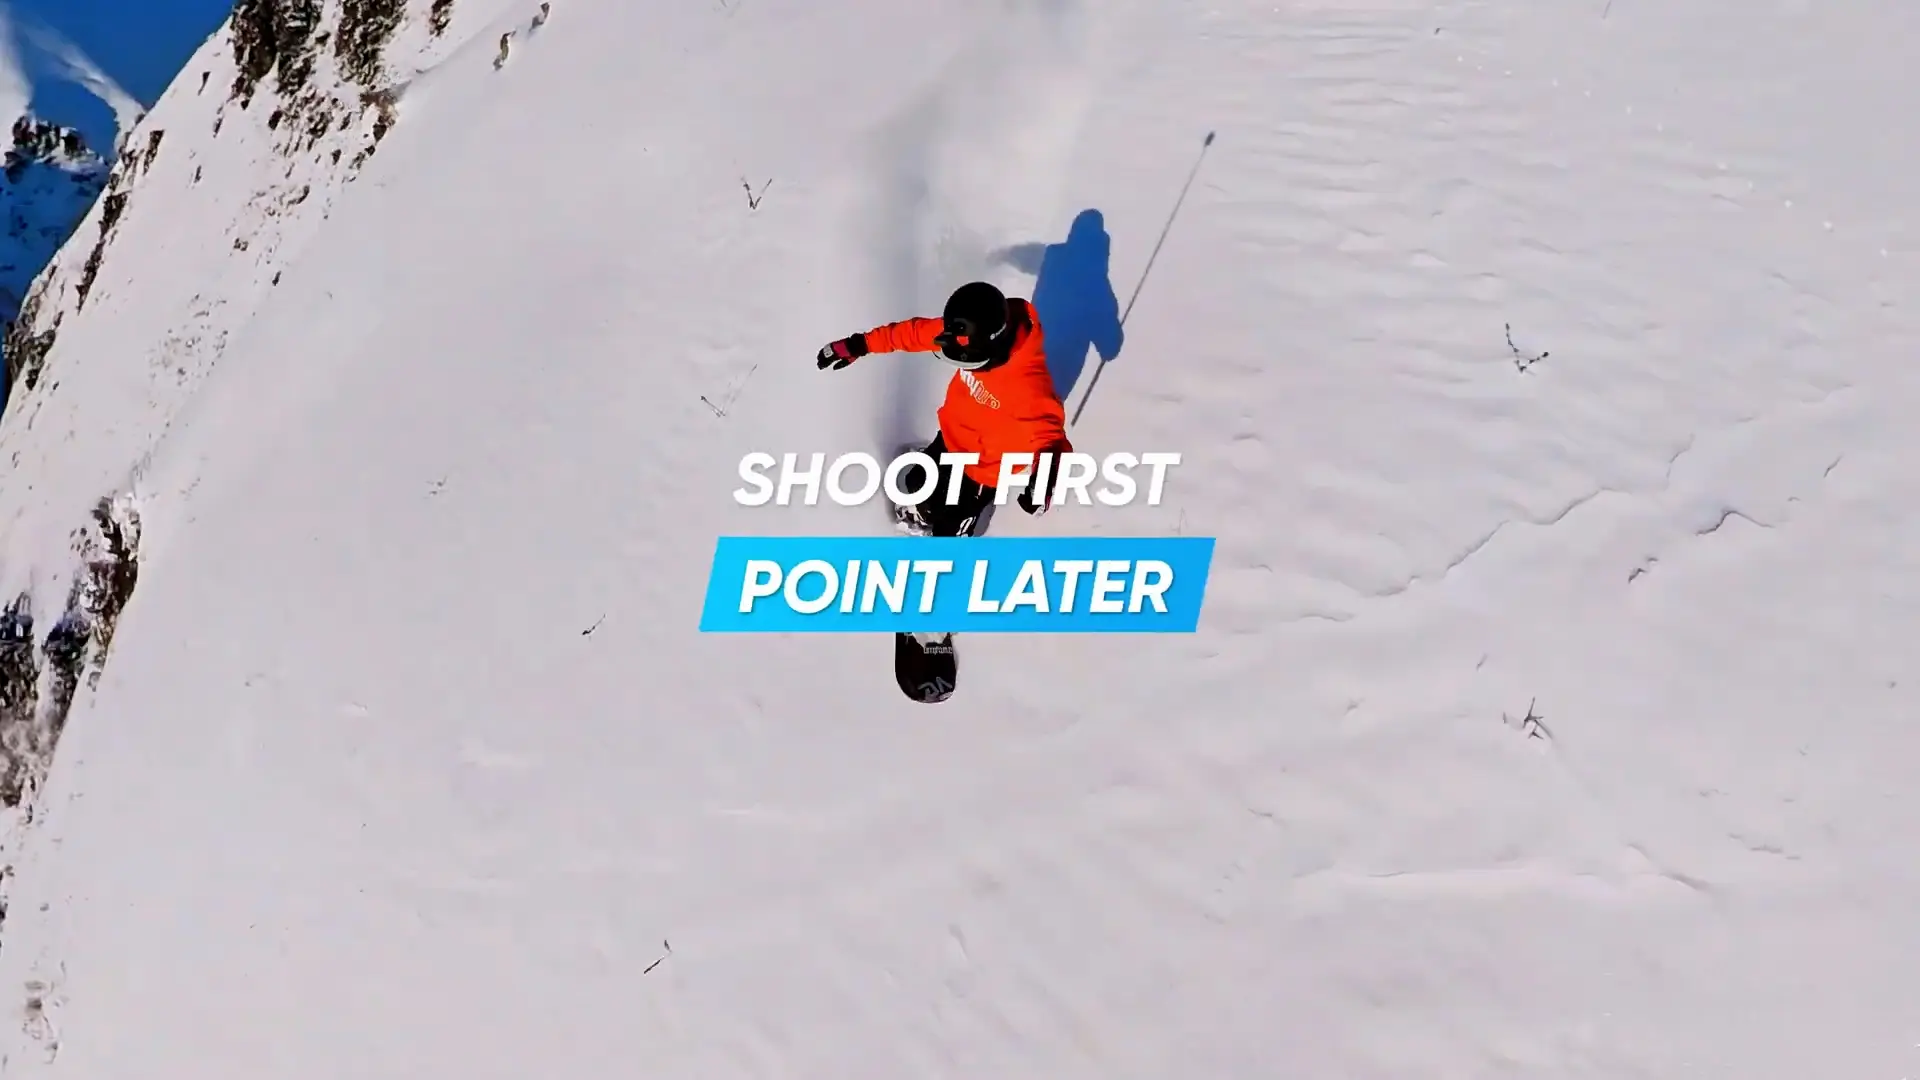


'Shoot first, point later.'
With the ability to reframe and edit 360 videos after filming, you can get your shot exactly how you want every time.
However, one question we often hear is, "what is reframing?"
To answer that, here's your complete guide to what and how to reframe, as well as some awesome, easy-to-achieve effects to inspire your next creation.
What is reframing?
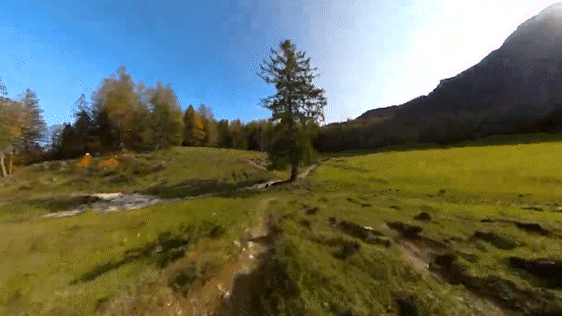
Reframing means you can freely move your video's angle and perspective without setting up the shot beforehand. You can customize and edit your 360 videos after filming to get the perfect frame each time.
There are endless possibilities for your footage. By zooming in or out, changing perspective and field of view (FOV), you can edit together a creative video exactly to your liking.
How you reframe is up to you, and there are multiple ways to do it on the Insta360 app and Studio desktop. Whether it's by moving your phone, letting AI pick out the highlights, or manually choosing your shots, we will walk you through each reframing option:
Getting started
Keyframes (mobile and desktop)
ViewFinder
Quick Edit
AI Frame
Deep Track 2.0
Me Mode
Effects with keyframes
Creative edits
Getting Started
First, make sure you've got the latest version of the app. Updates go out regularly with improvements and new effects and features.
Import footage:
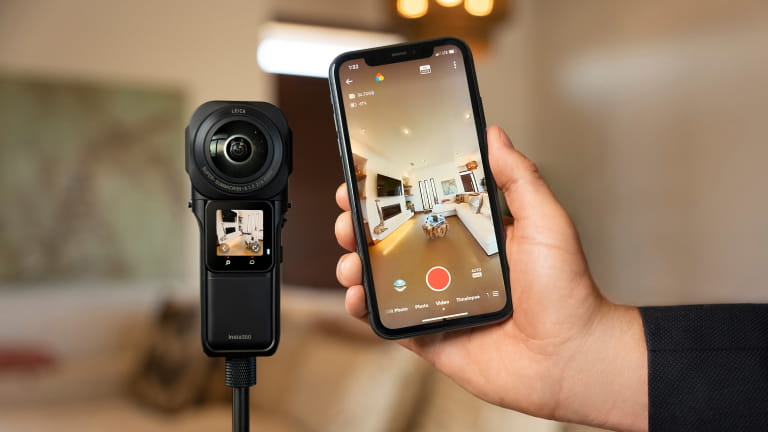
You can edit 360 videos straight from an SD card with a wireless connection or download footage to your phone and import it to the app.
Trimming shots:
Trim the start and end of your clip where you are setting up or turning off. You can always retrim after editing if needed. The Jump Cut feature lets you choose the best shots and removes everything else.
Aspect ratio:
Choose the aspect ratio based on where you will share your footage:
9:16 - vertical video (Instagram Stories, TikTok)
16:9 - regular horizontal (YouTube)
1:1 - square (Instagram posts/Facebook)
2.35:1 - widescreen cinemascope (Cinematic videos, short films)
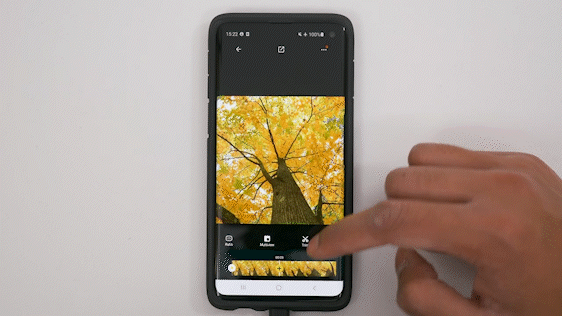
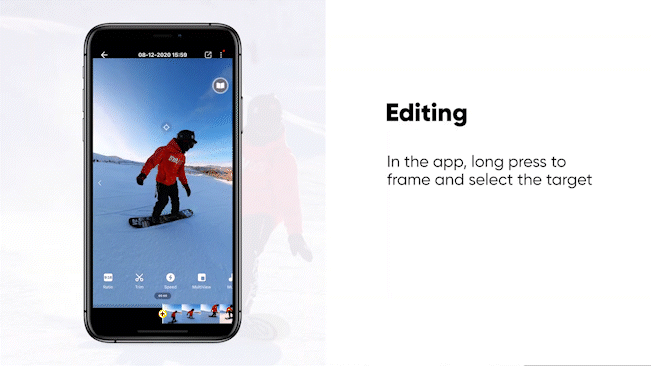
Keyframes (Insta360 app)
The first method to reframe footage is to manually add keyframes to your footage. Keyframes tell the video where you want to look in your shot and fix the perspective to the one you choose. You can add multiple keyframes in your footage to show different perspectives and angles throughout your video. Keyframes provide a truly customized edit and you have all angles to play with.
- Scroll through the video timeline and find the point you want to edit
- Change perspective and angle by swiping around the screen and pinching to zoom
- Click the yellow 'plus' icon on the timeline to add a keyframe. Holding down the screen will continuously play footage from the chosen perspective
- Go through your timeline and add more keyframes from any angle or view. You can also adjust the FOV
- Reedit keyframes by going back to the keyframe, changing perspective to where you want and tapping 'update keyframe'
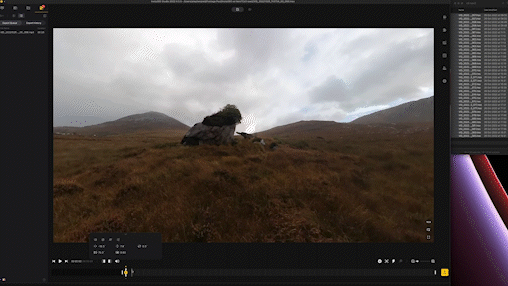
Keyframes (Insta360 Studio)
For creators who prefer a desktop workflow, Insta360 Studio is also available for precise control and maximum resolution. You can reframe using the same keyframe process as the app to edit your 360 videos.
If you filmed 360 footage, two .insv files are produced for each recording, one from each lens. One file has _00_ in the name, and the other has _10_. The rest of the file name is identical. You only need to import one .insv file and Studio will automatically read the other file. To ensure Studio can find the other file, do not rename or move either one.
- Find the first frame in the timeline and click 'Mark as trim start'
- Find the end of the shot and click 'Mark as trim end'
- Scroll through the video timeline and find the point you want to edit
- Change perspective and angle by dragging the screen and scrolling on the mouse to zoom in and out
- Click the 'plus' icon to add a keyframe. The Studio app will automatically play footage between keyframes
- Remove distortion by clicking 'linear view' on keyframes
Keyframes are great if you have time to manually look through your footage, as you can get a fully customized video. If you have limited time, there are still plenty of options to reframe and edit your videos.
Quick Edit
Renamed from Snap Wizard, Quick Edit is perfect for quickly reframing and exporting when you don't need to edit your video. It streamlines the reframing process by automatically recording your phone movements, swipes or movement with the virtual joystick as live movements in your video.
You can record multiple reframed edits from the same clip and export them instantly from the Quick Edit interface.
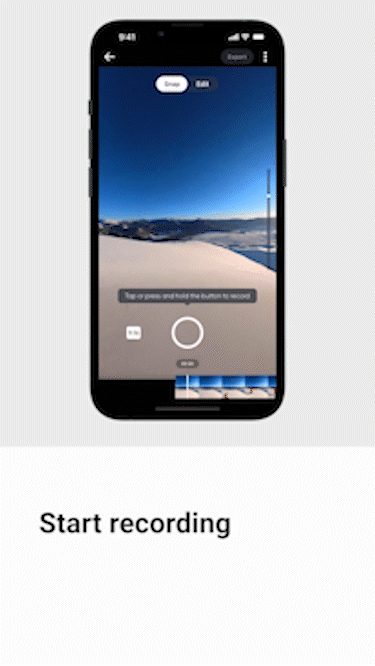
- Open the clip you want to edit
- Tap 'Snap'
- Tap the black shutter button to start recording
- Swipe the screen with your finger or move your phone to change the angle. The app will record these movements in your video
- To zoom in, swipe up on the slider on the right and swipe down to zoom out
- Play back footage by tapping the screen
- Drafts appear below the preview screen for easy review
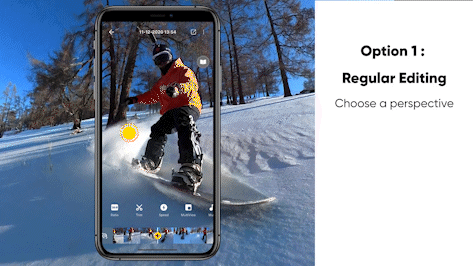
ViewFinder
If you want to quickly reframe but still need to perfect your video, ViewFinder is a great option. It also records your phone movements and swipes, plus you can still edit clips with the normal editing interface, such as color, FOV and aspect ratio.
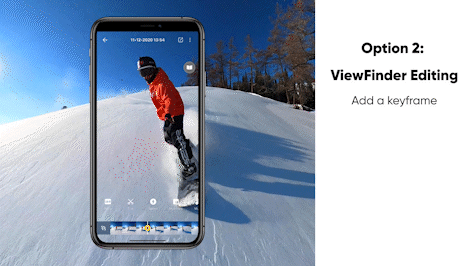
- Add a keyframe with the 'plus' icon where you want to start your edit
- Tap ViewFinder
- Press the record button and move your phone or swipe the screen to look around your 360 footage and change direction. The app will record these movements in your video
- Move your thumb on the bar to zoom (left to zoom in, right to zoom out)
AI Frame
Insta360's app uses revolutionary AI power to quickly edit all your 360 videos into binge-worthy clips. With AI Frame, renamed from Auto Frame, AI analyzes your footage, chooses the highlights and automatically edits them. This is a great option when you're short on time.
- Select the video you want to edit
- Tap Auto > Analysis. AI will start the initialization process
- Tap to choose the view you want to follow
Compilation view: different perspectives in one clip
Selfie view: tracks the person who filmed the video
Forward view: tracks forward direction
Drafts: any other shots
Deep Track 2.0
Deep Track 2.0 is a subject tracking algorithm that automatically keeps the subject of your video center frame. You can apply this to your videos with a single tap, making the editing process even more convenient. Deep Track 2.0 is also available in Studio.
- Long press the screen
- Draw a box around the subject or object you want to track and click 'Start tracking'
- AI will automatically follow them throughout the video
Me Mode (X3 only)
Me Mode shoots perfectly framed footage and skips the reframing process altogether. It records two files and stitches them together to create a 170-degree video, even in 1080 60fps (think cool slow-mo shots).
Using X3 and the Invisible Selfie Stick, it keeps you in the center of the frame for epic third-person wide-angle videos while keeping the selfie stick invisible.
- Attach X3 to the Invisible Selfie Stick
- Power on X3 > Single-lens Mode > Me Mode
- Adjust frame and ratio as desired
Quick Tips
- Edits made to individual clips will be saved by default. You can reset to the original file at any time.
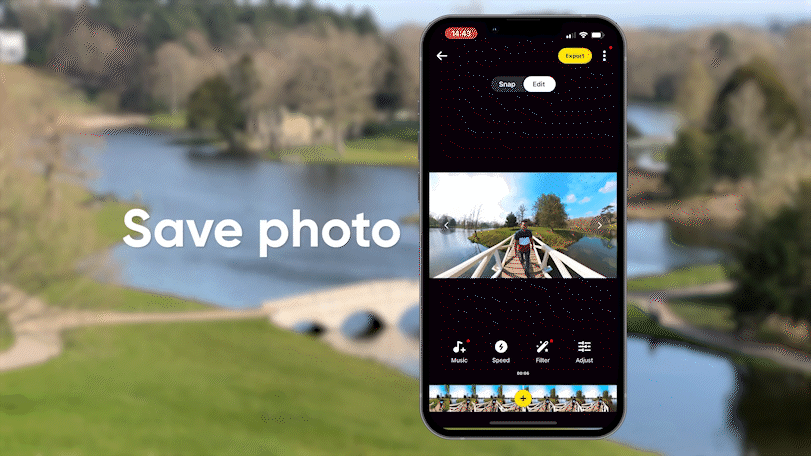
- You can take a snapshot of your videos at any point with the snapshot icon. These can be saved as a flat or 360 image. 360 photos can be reframed in the Insta360 app by going to Stories > Create a story and importing the photo.
- You can combine individually edited videos together in the mobile app. Go to Stories > Create a story. Select the clips and choose which order you want them to appear in. You can add transitions, music, filters and colors and there is still the option to reframe shots at this point.
- You can adjust the FOV of keyframes. 360 shooting defaults to ultra-wide-angle mode. If you want to make the field of view smaller, go to the keyframe you have set, click on Field of View and choose Wide or Narrow.
Effects with keyframes:
With 360 degrees and any perspective to play with, you can use keyframes to edit your 360 videos and get some awesome effects. All of these effects can be achieved with the mobile app and Studio.
Tiny Planet
This is one of the most popular editing techniques with 360 footage, creating the illusion that you're standing on your own miniature planet.

- Scroll through the footage and find the frame you want to add the effect to
- Pinch the screen with your fingers or scroll the mouse to zoom out until it becomes a spherical shape
- Add a keyframe with the 'plus' icon
Barrel Roll
This effect is a real head-turner. It rotates your footage 360 degrees, and the final result will be a cool rolling effect.
- Set two keyframes around 1-4 seconds apart. For best results, set the horizon to be centered on the first keyframe
- Tap 'Rotate' on the second keyframe and rotate it to 360 degrees
- Your shot will now do a 360-degree flip
TimeShift
This effect is a unique way of speeding up your footage. There are two ways to achieve this with keyframes, depending on how many angles and perspectives you want to show. You can also use the one-tap Auto TimeShift template in Shot Lab or try Flylapse for a drone-like effect.
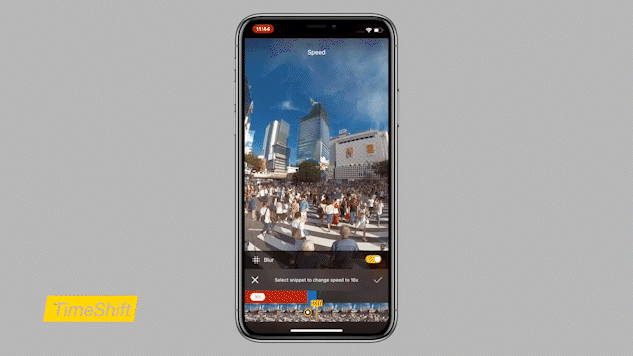
Singular perspective:
With this method, you reframe first. This is useful when you want to follow one continuous perspective of your choice.
- Trim the video and choose your start and end points
- Turn Direction Lock on
- Choose a perspective and add a keyframe. The footage will now continuously follow this perspective
- Choose speed (16x is recommended)
Multiple perspectives:
With this method, you add speed first. This option is great for adding multiple keyframes as the timeline is shorter, and the playback will be closer to the final footage.
- Choose speed (16x is recommended)
- Choose the starting point and then drag the timeline to choose the footage you want to add the speed to
- Make sure Motion blur is checked
- Turn off Direction Lock so it doesn't affect keyframes that are about to be added
- Reframe with keyframes as normal
- Tap the screen to view playback. You will get the full motion blur TimeLapse after exporting
Get creative and slow down or speed up footage throughout your TimeShift video. Do this by setting different speeds between your keyframes.
Creative Edits
Freeze Frame
Get ultra-slow motion in any scene, or slow down an epic moment in an action sequence.
- Tap Freeze Frame
- Set a start and end view
- It will automatically create a super slow-mo transition between the two
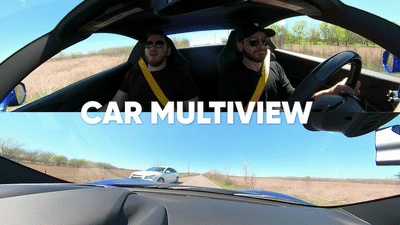
MultiView
This effect is like adding a rearview mirror perspective. It presents two viewpoints simultaneously within the same clip. It's great for driving videos or showing two people at once.
- Tap MultiView
- Drag the timeline to choose the footage you want to apply it to.
- Choose from the three options: picture-in-picture, split screen and car split screen.
By default, it will lock the forward perspective, and you can adjust the backward view as you like.
Shot Lab
With Shot Lab, creators get full access to Insta360's AI editing features on the app. This is an editing suite where users can add over 30 viral-worthy effects and templates to footage with just a few taps, such as Sky Swap.
They include AI templates that add effects to your footage, and they all have a built-in tutorial.
Learn more about Shot Lab here.
Exporting footage
Until you're ready to do the final export, keep your files in the highest resolution and bitrate possible for the best quality. For posting to social media, export settings depend on the platform. Check out our recommendations for the best export settings for social media here.
Keen to keep up to date on Insta360 stories? Keep an eye on our blog and sign up for our mailing list.

.jpg)
.jpg)


%20(1).svg)
%20(1).svg)
.svg)