


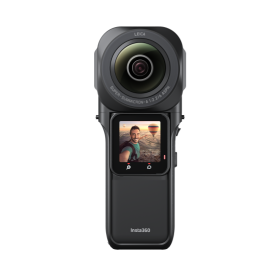
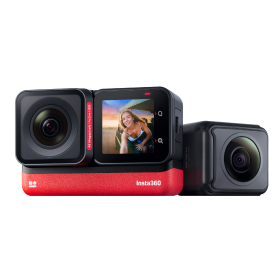

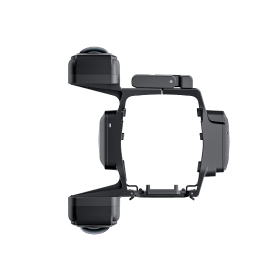
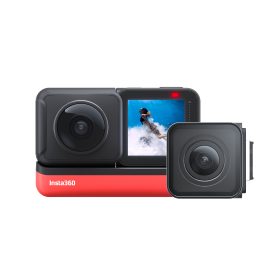


 Product Comparison


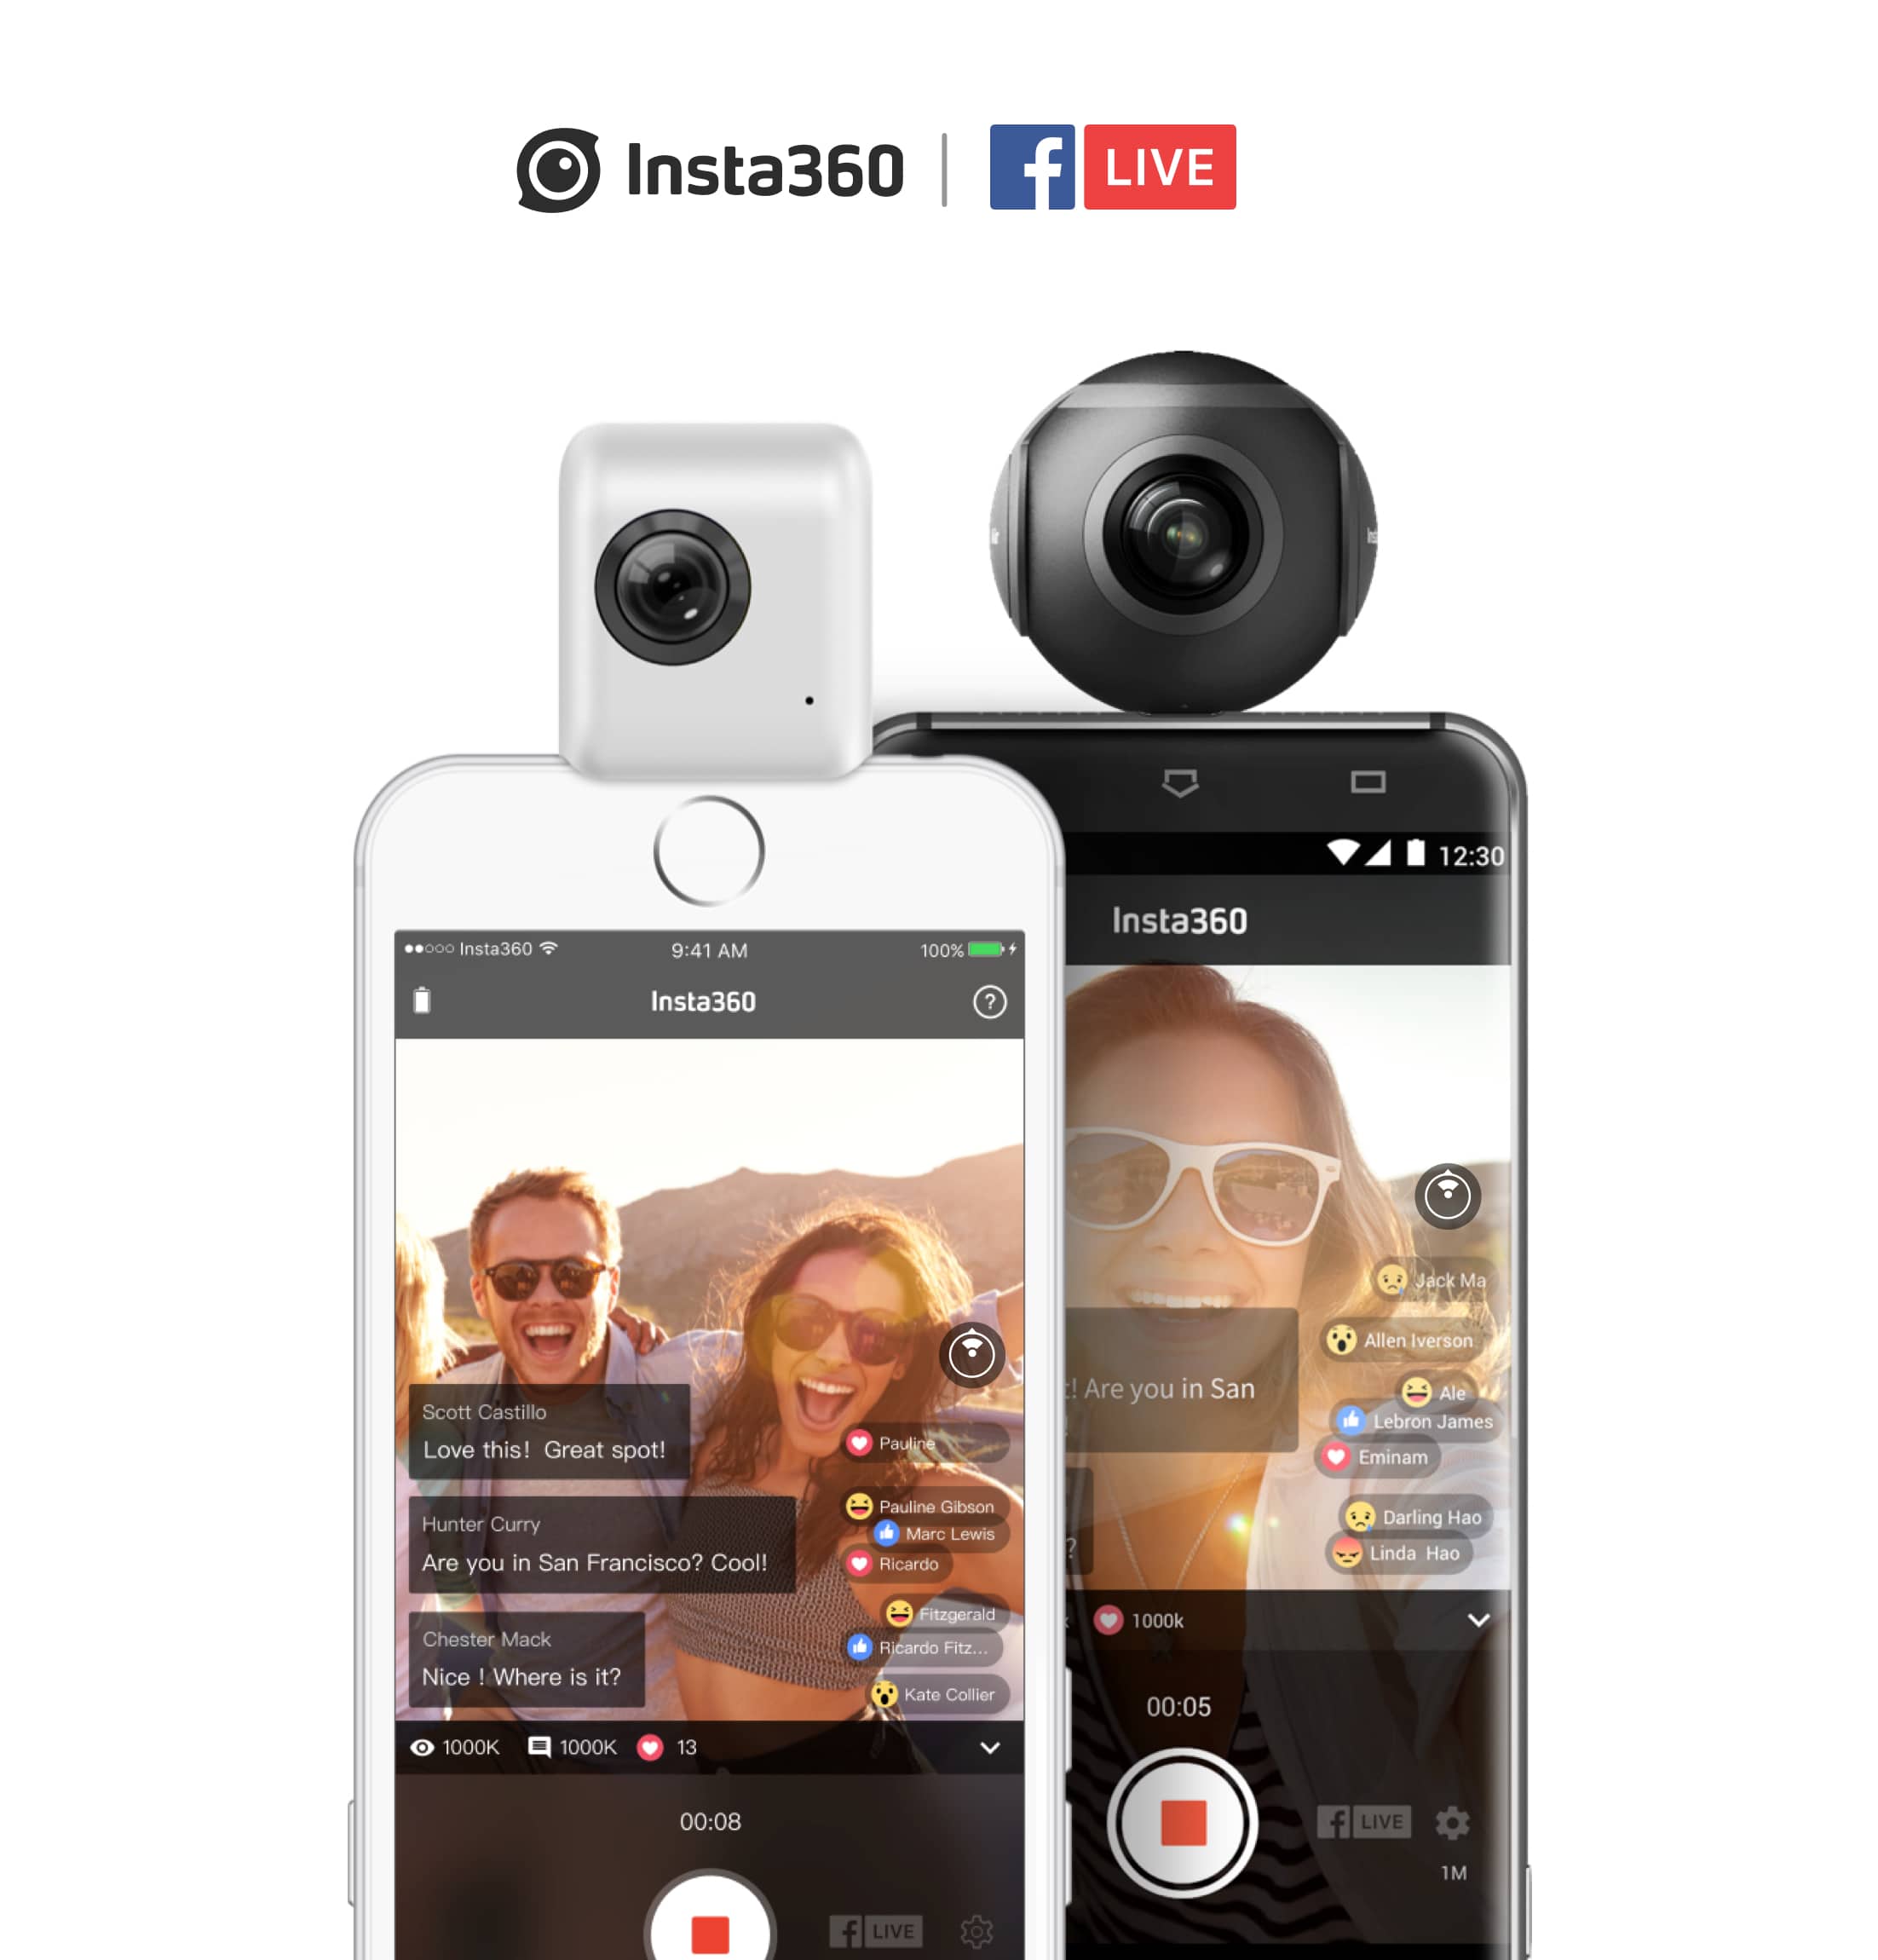 Insta360 cameras now support Facebook Live 360 broadcasts straight from the camera interface.
Facebook’s new Live 360 feature means you can bring friends and family right into the moment with you wherever you go – giving a 360-degree look into your life as you live it, with plenty of opportunity for spontaneous interaction.
Live 360 video is like teleportation, and it’s now available to anyone with a smartphone and a Facebook-ready 360 camera.
Pretty amazing when you think about it. So how do you get started?
We’ve got a full guide below. And once you're set up you can also check out our "10 Tips for a Great Facebook Live 360 Video".
Step 1: Get your camera.
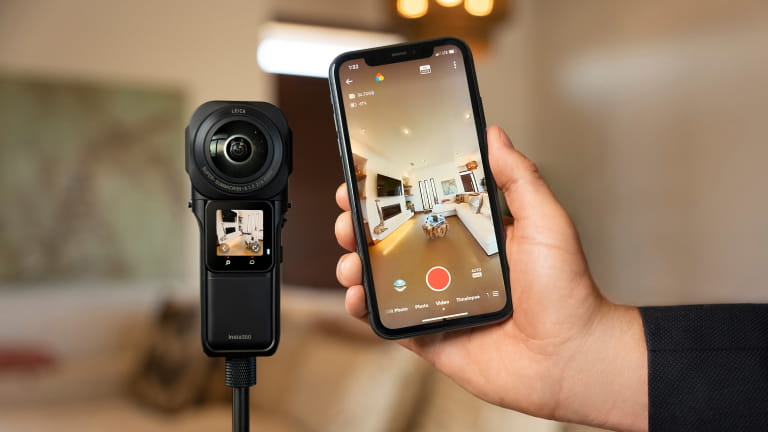
First, you’ll need a 360-degree camera. Insta360 cameras are part of Facebook’s Live 360-Ready Program, meaning that they’re certified by Facebook as an “easy, reliable and fun” way to start live-streaming in 360. They connect directly to your phone’s charging port, ensuring a stable connection throughout your live broadcast.
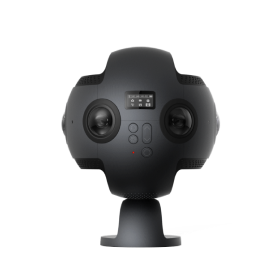
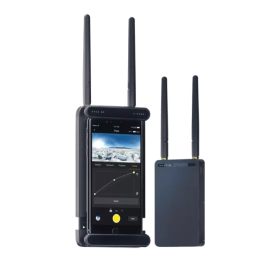
Options include the iPhone-ready Insta360 Nano, the Android-ready Insta360 Air, and the 8K Insta360 Pro for professional filmmakers.
For the rest of this tutorial, we'll assume you're using one of Insta360's plug-and-play options—the Air and the Nano.
Step 2: Connect your camera.
Pop your Insta360 Air or Nano into your phone's charging port. If you haven’t installed the associated Insta360 app already, you’ll be prompted to download it once you’ve connected the camera.
When the app is installed and you’ve connected the camera, a continuous green light on the camera means the connection is successful.
Step 3: Open the Camera Interface and enter live-streaming mode.
Find the yellow camera icon on the bottom right of the Insta360 app’s home screen or album screen. Tap it to jump to the camera interface.
Then find the live-streaming mode just above the shutter button. It’s the one on the right, with a “Play” icon and a set of TV antennae.
Step 4: Hit the Facebook icon to select your live-streaming platform.
After tapping the Facebook icon next to the shutter button, you can choose your live-streaming platform of choice, including Facebook, YouTube, Periscope (which can be used to live-stream on Twitter), and an option to support another platform of your choice.

For this tutorial, we’re going with Facebook!
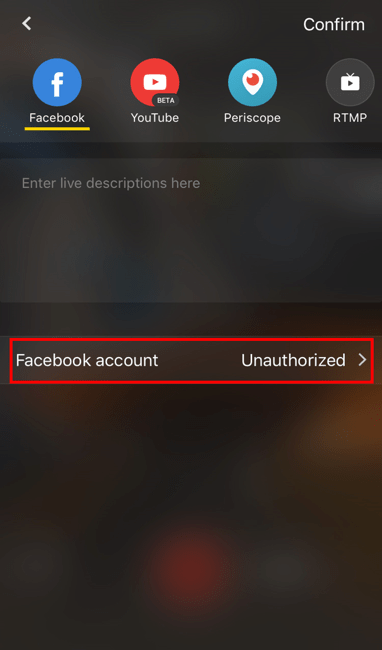
Step 5: Connect and authorize your Facebook account.
Hit the “Facebook account” option at the bottom of the screen. You will be prompted to give two authorizations, one for creating a live event, and one for reading live comments about your event. Grant these two authorizations separately.
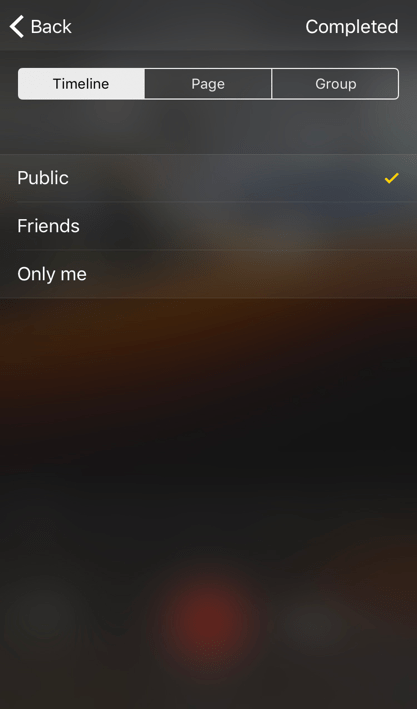
Step 6: Decide who to share your video with.
Find the “Share to” option at the bottom of the screen. Here you can customize who will see your Facebook live-stream, and where you’ll share it.
Insta360 cameras are ready to go live on personal timelines, on Facebook Pages for brands and businesses, and on Facebook groups. (Live-streams on groups and Pages must be initiated by the admin.)
If you’ve selected to go live in 360 on your timeline, you can also decide whether to make your broadcast public, only visible to friends, only visible to you (great for doing a test run), or only visible to one of the curated friends lists you’ve created on your Facebook account.
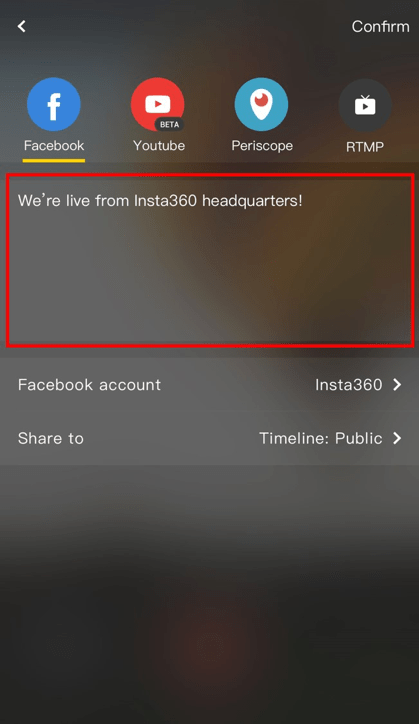
Step 7: Give your live event a snazzy description.
Once you’ve authorized your Facebook account, it’s time to give your video a compelling description. Your Facebook viewers will see this when they’re watching your live-stream.
Step 8: Set your bit rate.
You’re almost ready to go. If you like, you can take a moment to adjust your bit rate, which will affect the quality of your video, by tapping on the gear icon in the bottom right and then hitting the “bps” icon. The default bit rate, recommended by Facebook, is 4Mbps. But if your network is particularly strong or weak, you can adjust it from a minimum of 1 Mbps to a maximum of 6 Mbps.
Step 9: Get your shot just right.
Swipe the screen to preview the full 360-degree scene that you’ll be broadcasting. Now’s the time to check on your lighting and get your hair just right before you go live.
And make sure you give both lenses a good wipe with the microfiber cloth that’s provided with the Insta360 Nano. A clean lens can make a big difference to the quality of your broadcast.
Step 10: Go live!
Hit the red button! In just a few moments, you’ll be live on Facebook.
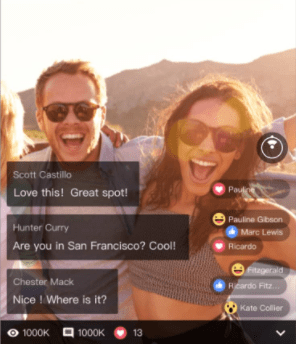
Watch the camera interface to see how many viewers you have, what reactions your broadcast is earning, how long you’ve been live-streaming so far, and also to see and respond to comments from viewers in real time.
The sky’s the limit with what you can share on Live 360 – maybe you’re sharing a laid-back moment on vacation, or maybe you’re going live from the scene of a local news story. Either way, it’s a good idea to engage with your viewers and also to periodically reintroduce yourself and the subject of your live-stream, so that you can bring new arrivals in on the action.
Comments from viewers will show in reverse chronological order—with the newest at the top.
Step 11: End your broadcast and review your video stats.
Hit the shutter button once more to stop your live-stream.
After it’s over, you’ll be able to review the duration of your broadcast, the total comment count, the maximum viewer count and a summary of the reactions your live-stream earned.
Step 12: That’s all there is to it!
Nice work, you’re a 360 live-streamer. You ought to be in pictures.
After you’ve finished, the video will remain on Facebook like a normal video for future replays.
As with other posts, you can always return to it to delete it or edit the description and privacy settings.
For more info on how to get the most out of live 360, check out the other resources on our Live 360 page, join Insta360’s user group on Facebook, or sign up for the Insta360 community mailing list.
Keen to keep up to date on Insta360 stories? Keep an eye on our blog and sign up for our mailing list.

.jpg)
.jpg)


%20(1).svg)
%20(1).svg)
.svg)